

Cloud Development
Develop against a cloud-hosted Nhost project with a minimal local setup, automatic migration tracking, and Git-based deployments.
cloud development remote development Git deployment migrations tracking Nhost CLINhost’s cloud development workflow allows you to develop against a cloud-hosted project while maintaining a minimal local environment. This approach combines the benefits of cloud infrastructure with local development tools, enabling seamless collaboration and deployment workflows.
Benefits of Cloud Development
Section titled “Benefits of Cloud Development”Cloud development with Nhost offers several key advantages:
- Minimal local setup: Run only essential development tools locally while leveraging cloud infrastructure
- Automatic tracking: Database migrations and metadata changes are automatically captured in your local repository
- Git-based deployments: Connect your repository to staging and production environments for streamlined deployments
- Simplified testing: Connect your frontend directly to cloud services, making remote testing and third-party integrations straightforward
Create a Cloud Project
Section titled “Create a Cloud Project”First, let’s set up a new project in the Nhost Cloud Console.
-
Create a new project in the Nhost Cloud Console
-
Note your project details from the overview page:
- Project subdomain
- Region
-
Enable database public access:
- Navigate to Settings → Database
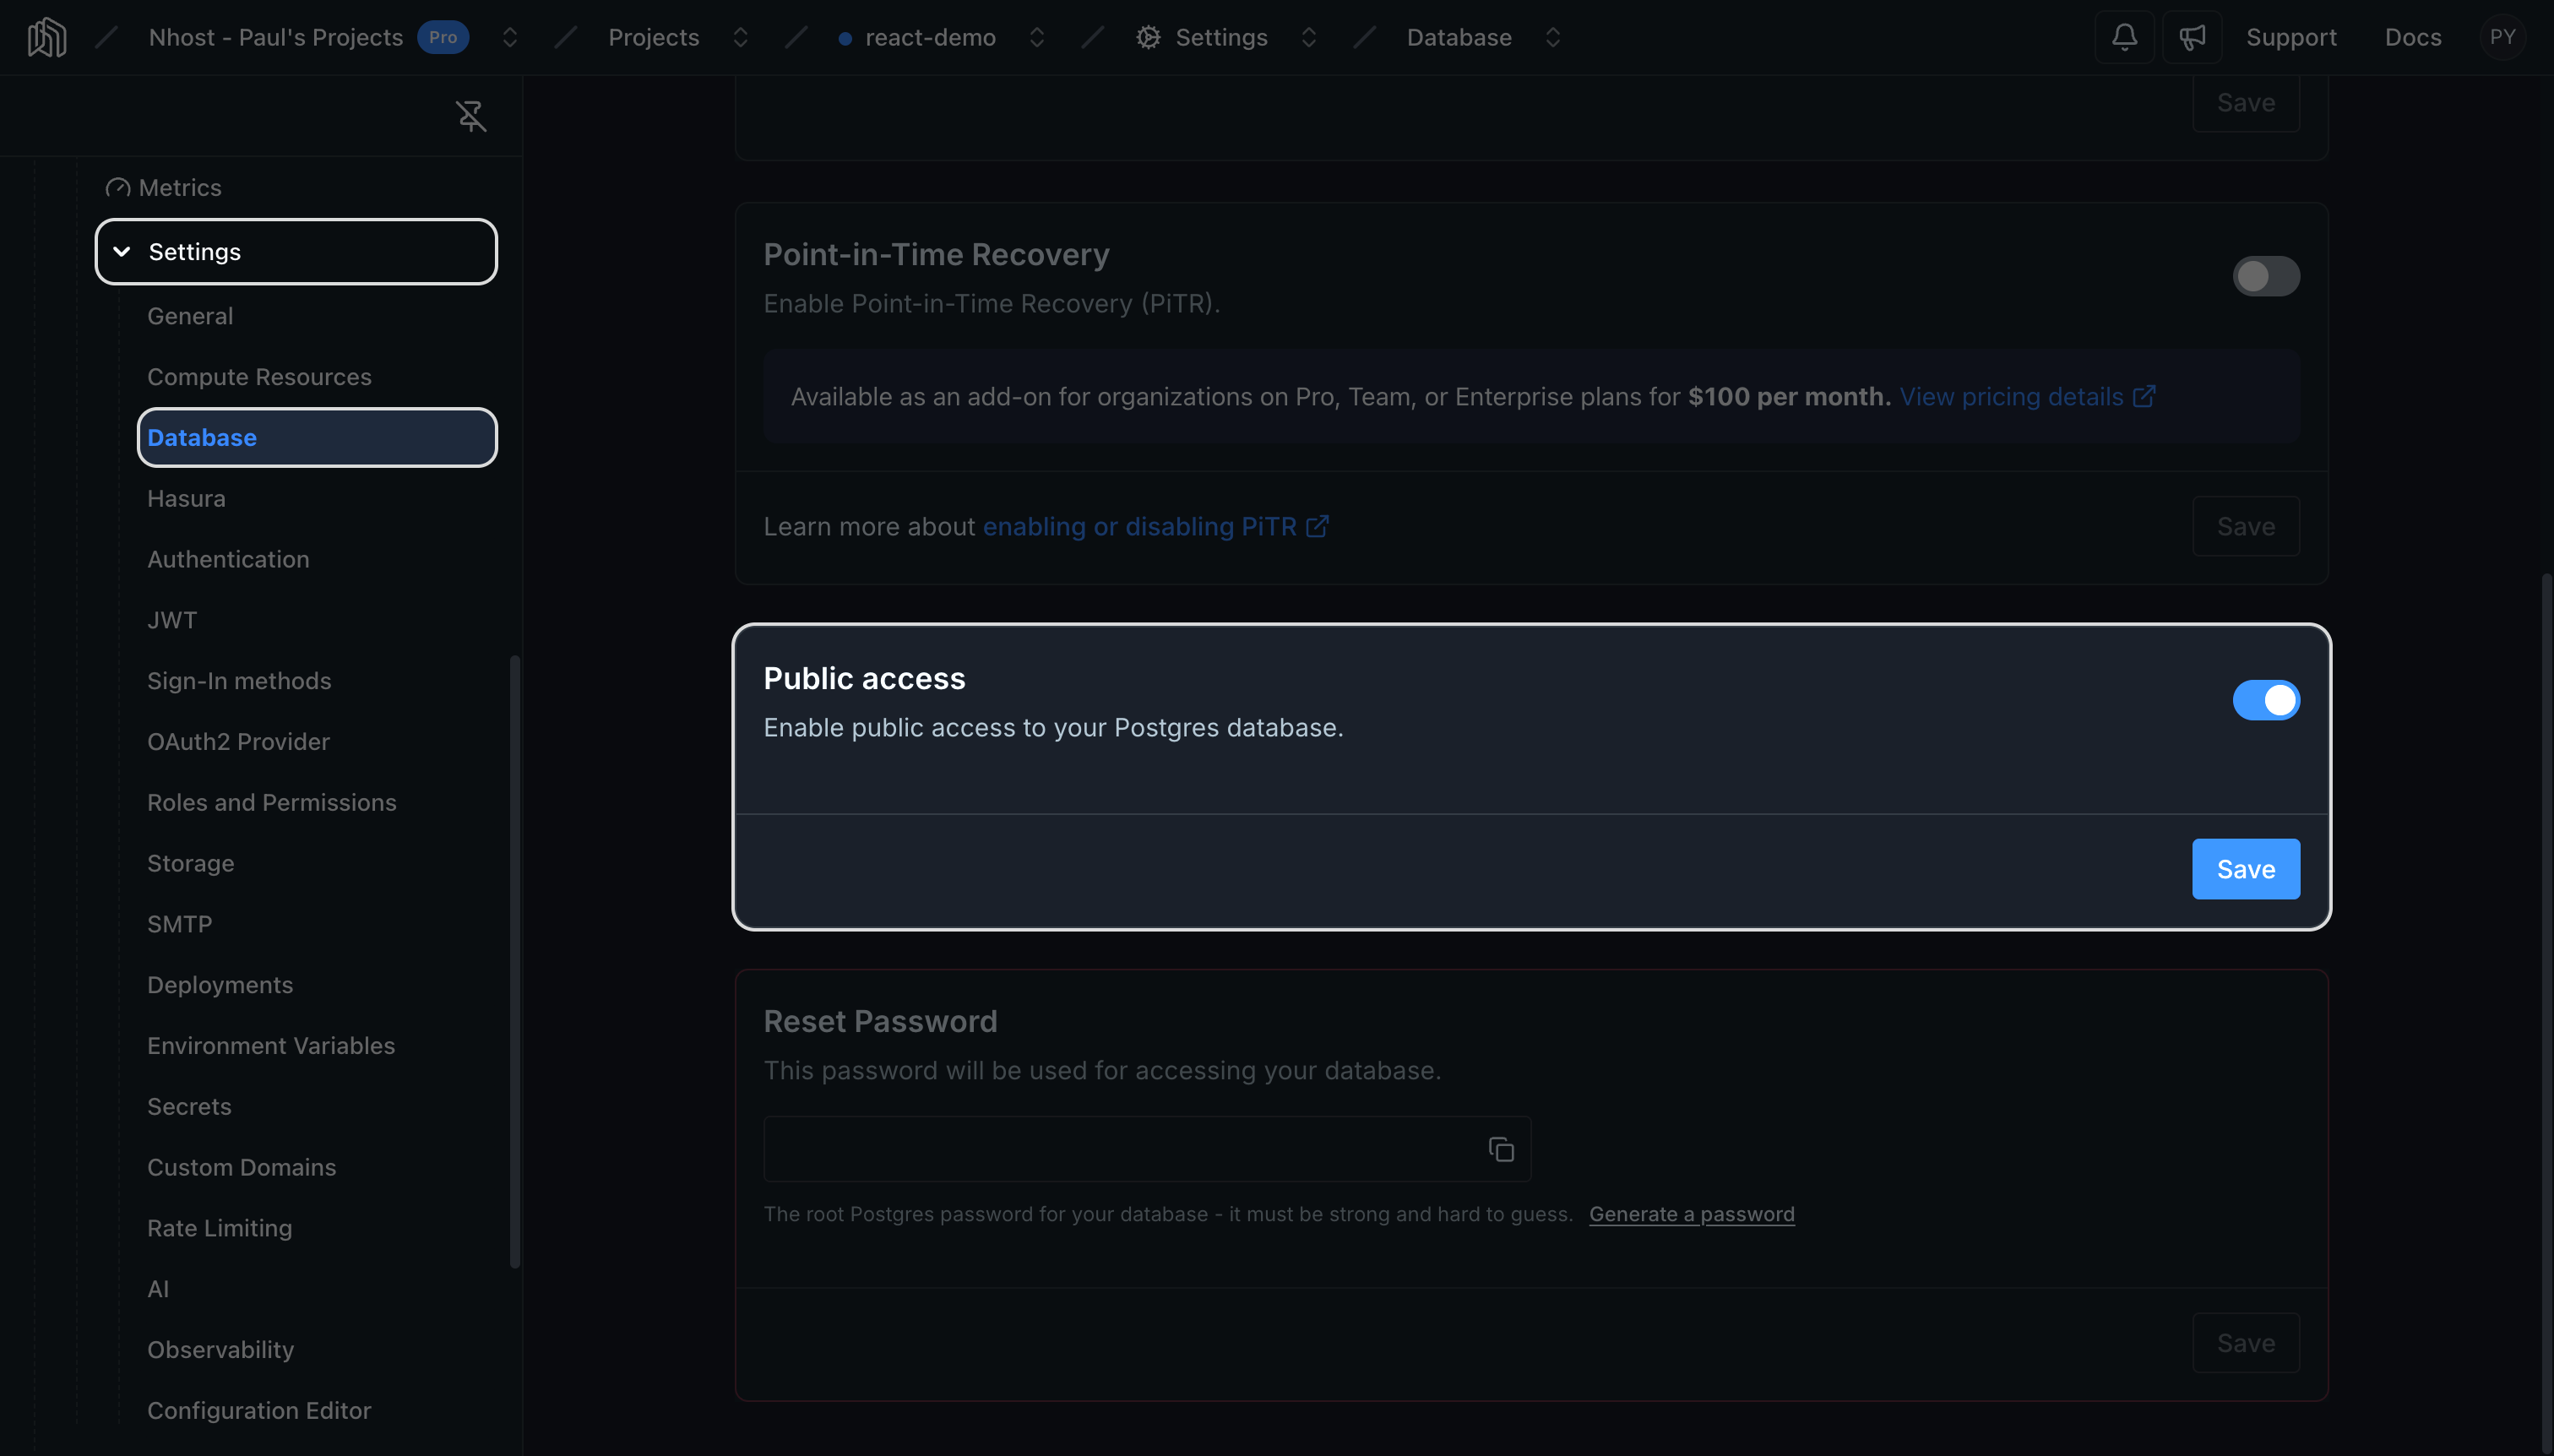
- Enable Public Access
- Click Save
- Navigate to Settings → Database
-
Configure database password:
- In the same Database settings section, locate Reset Password
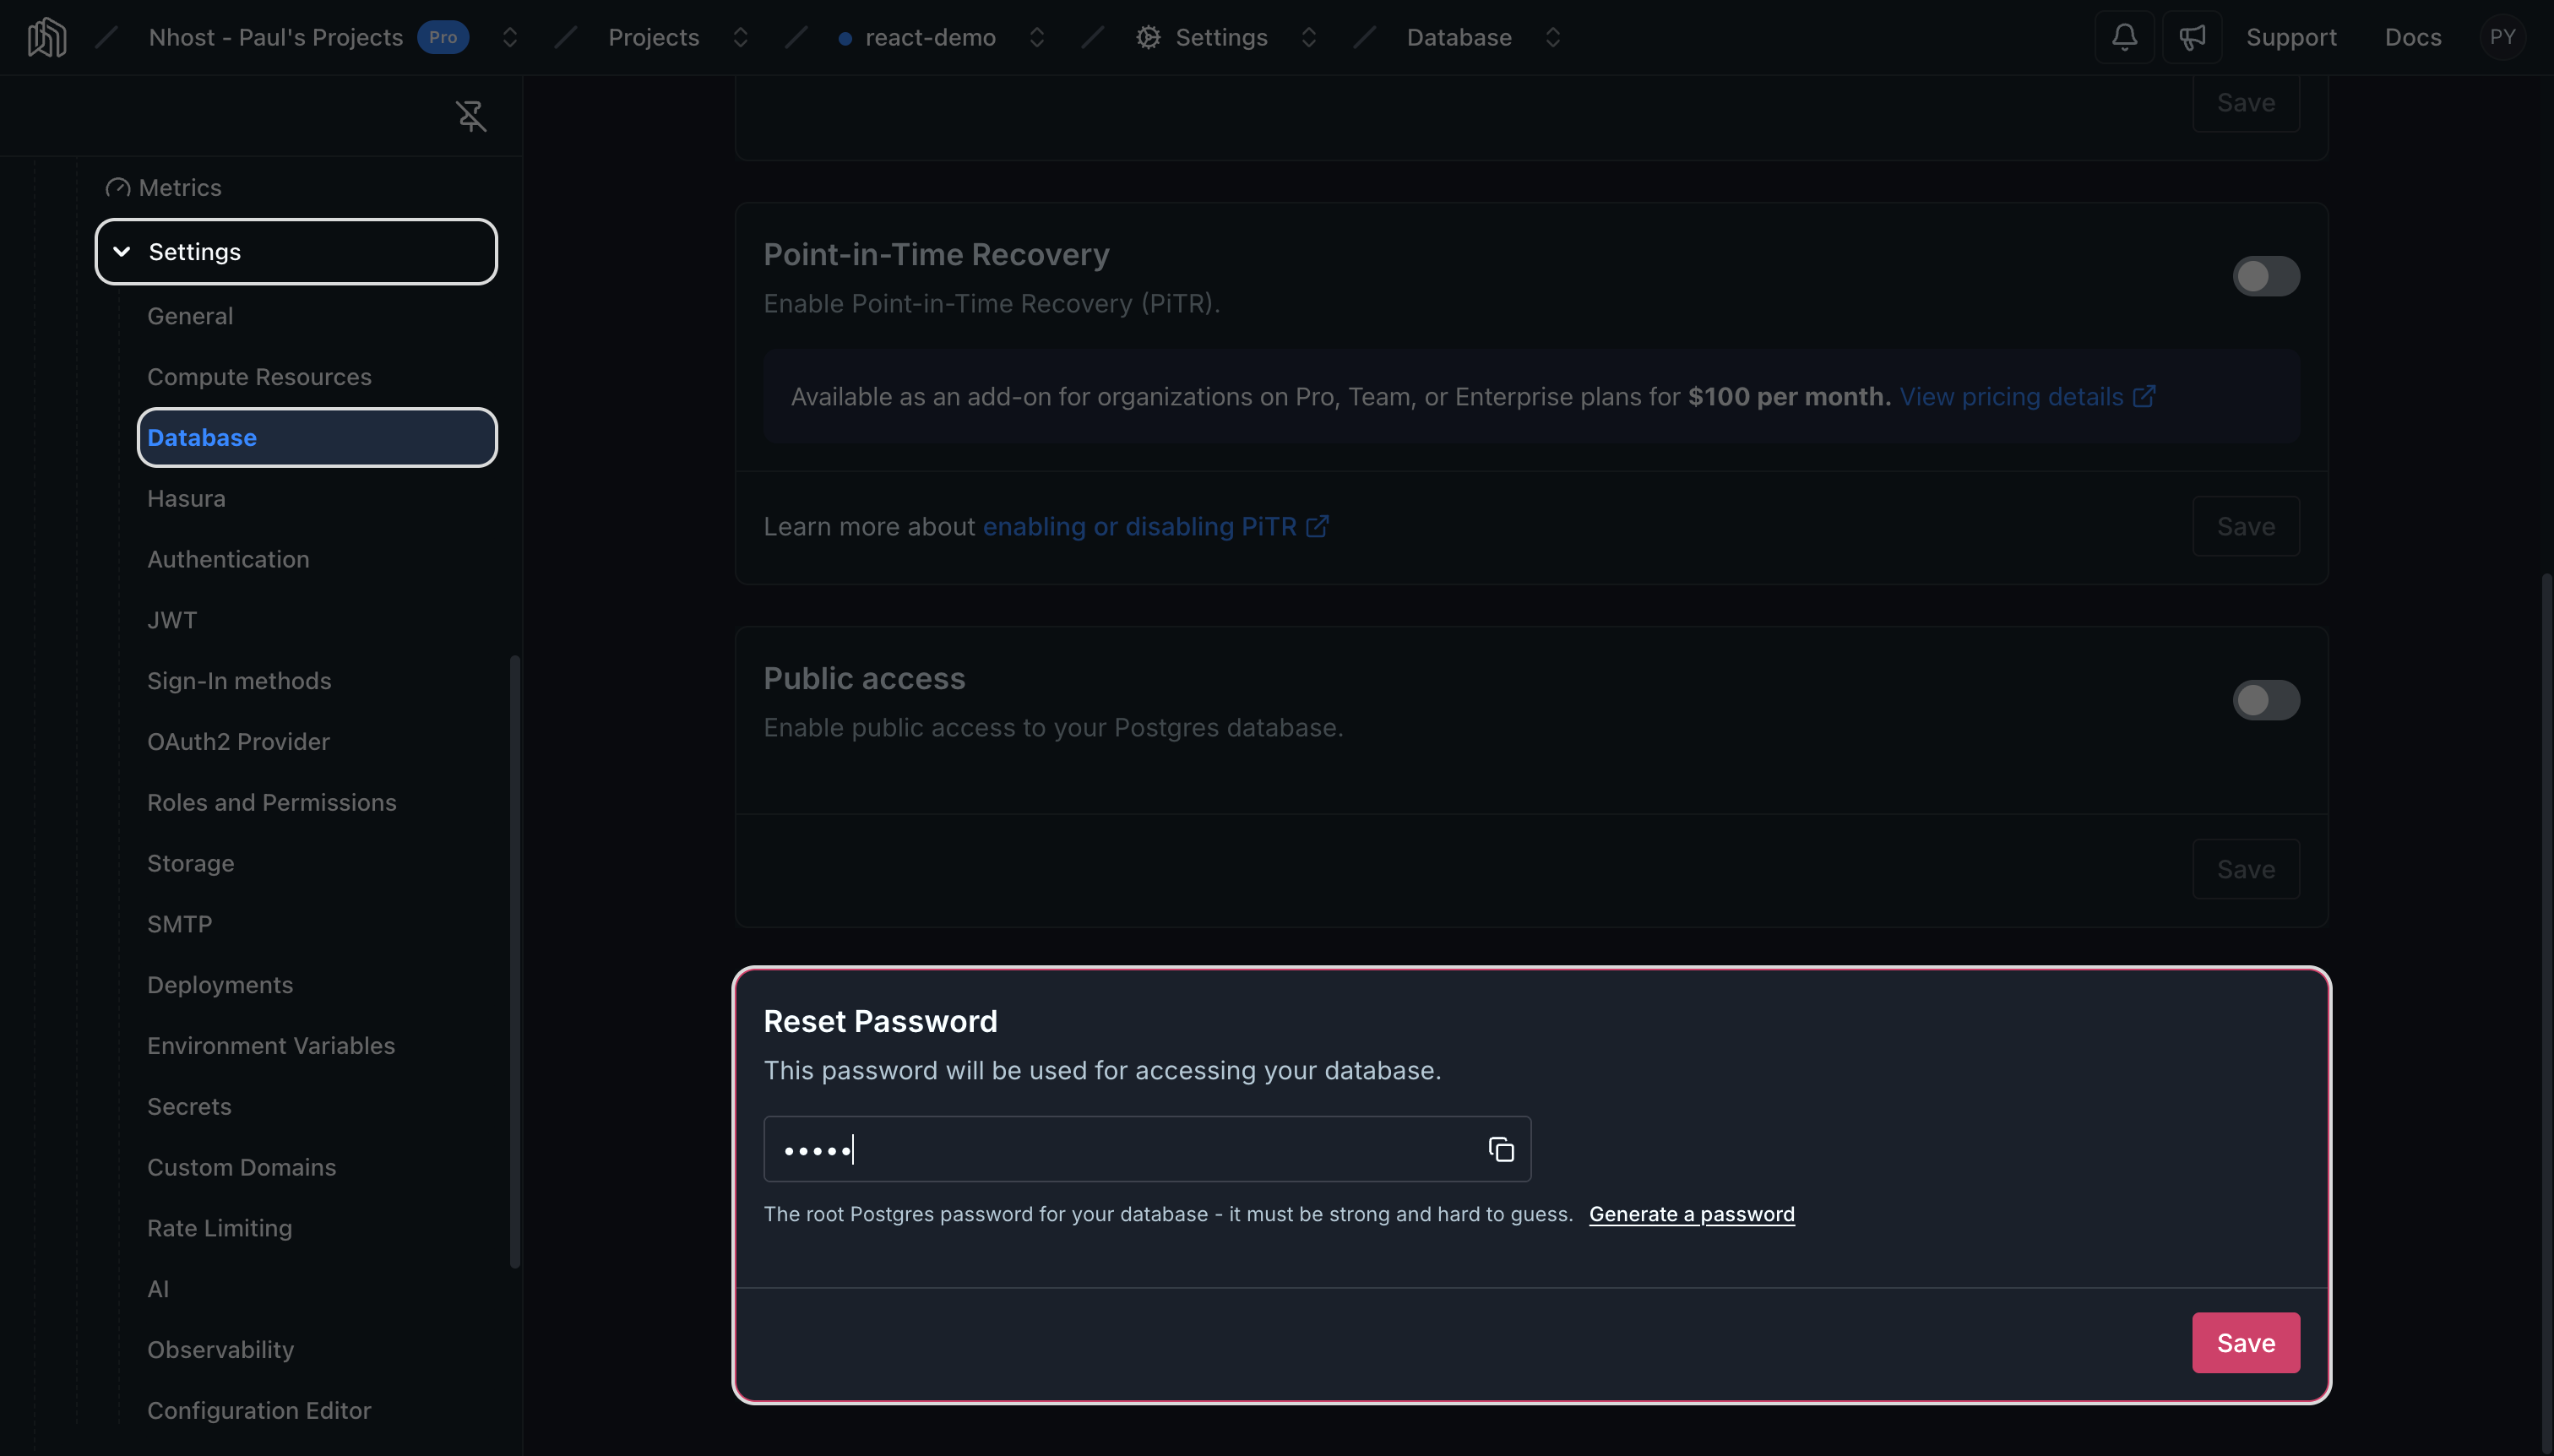
- Set a new password for your database
- Click Save
- Note the connection string displayed below
- In the same Database settings section, locate Reset Password
Initialize Your Local Repository
Section titled “Initialize Your Local Repository”Now let’s connect your local development environment to the cloud project.
nhost init --remoteThis command will:
- Prompt you to sign in to your Nhost account
- Display a list of your cloud projects
- Allow you to select the project you want to work with
- Create the necessary configuration files in your local directory
Start the Local Development Environment
Section titled “Start the Local Development Environment”With your repository initialized, you can now start the local development environment connected to your cloud project.
export SUBDOMAIN=your-project-subdomainexport POSTGRES_URL=your-complete-postgres-urlnhost up cloud --subdomain $SUBDOMAIN --postgres-url $POSTGRES_URLReplace the placeholder values with:
your-project-subdomain: The subdomain noted in step 2your-complete-postgres-url: The connection string with your password from step 4
This command starts a local development environment that connects to your cloud infrastructure while providing local access to the Nhost dashboard and console.
Making Changes to Your Project
Section titled “Making Changes to Your Project”With your local development environment running, always use the local interfaces to make changes to your project.
Development Interfaces
Section titled “Development Interfaces”Access your local development tools at:
- Console: https://local.hasura.local.nhost.run
- Dashboard: https://local.dashboard.local.nhost.run
How Changes Are Tracked
Section titled “How Changes Are Tracked”When you make changes through the local interfaces:
- Database changes automatically generate migration files in your local repository
- Metadata changes are saved locally and tracked in Git
- Configuration changes made to
nhost.tomlor via the local dashboard can be synchronized with your cloud project
Synchronizing Changes
Section titled “Synchronizing Changes”To sync local configuration changes with your cloud project:
nhost up cloud --subdomain $SUBDOMAIN --postgres-url $POSTGRES_URLApplying Database Seeds
Section titled “Applying Database Seeds”If you have database seeds that you want to apply to your cloud project:
nhost up cloud --subdomain $SUBDOMAIN --postgres-url $POSTGRES_URL --apply-seedsNext Steps
Section titled “Next Steps”Once you’ve developed and tested your changes locally against your cloud project:
- Commit your changes to Git to track migrations and metadata
- Connect your repository to staging and production environments
- Deploy your changes using Git-based deployments
This workflow ensures that all your database schema changes and configuration updates are properly versioned and can be reliably deployed across environments.
Multiple Development Environments
Section titled “Multiple Development Environments”The nhost up cloud command always re-applies your complete project state, including:
- Configuration from
nhost.toml - Database migrations from your local repository
- Metadata changes tracked locally
- Seeds (when using
--apply-seeds)
This behavior enables you to create multiple cloud development environments as needed:
- Create additional cloud projects following the “Create a Cloud Project” steps
- Connect to different projects by changing the
SUBDOMAINandPOSTGRES_URLvariables - Switch between environments instantly using the same local repository
Each time you run the command, your target cloud project will be synchronized to match your local development state, making it easy to spin up fresh environments for testing, feature branches, or team collaboration.