

Local Development
Run the full Nhost stack locally with Docker, including Postgres, Hasura, Auth, Storage, Functions, and Mailhog.
local development localhost Docker dev environment nhost up development server local testingNhost’s command-line interface (CLI) lets you run a complete Nhost development environment locally with the following services: PostgreSQL database, Hasura, Authentication, Storage (MinIO), Serverless Functions, and Emails (Mailhog).
Before you start
Section titled “Before you start”This guide assumes you’ve already installed the CLI and have a project running locally. If you haven’t, follow the CLI Quickstart to install the CLI, authenticate, run nhost init, and start your stack with nhost up.
With your environment running, this guide covers the everyday local workflow: verifying your services, creating database migrations, tracking metadata changes, and deploying to Nhost.
Verify your services are running
Section titled “Verify your services are running”To test that the services are running, let’s curl the Auth endpoint and get its version:
curl https://local.auth.local.nhost.run/v1/version
{"version":"v0.20.1"}
Hurrah! Auth seems to be running on v0.20.1.
We can also test that Postgres is running as expected by using psql (or your favourite Postgres client).
psql postgres://postgres:postgres@localhost:5432/local
psql (14.8 (Ubuntu 14.8-0ubuntu0.22.04.1), server 14.6 (Debian 14.6-1.pgdg110+1))Type "help" for help.
local=#
Database Migrations and Metadata Changes
Section titled “Database Migrations and Metadata Changes”All changes to your project should be tested locally first before deploying to your users. In this guide, we will be creating a database migration and setting permissions.
Migration
Section titled “Migration”Let’s create a new table called messages, with the following columns:
id(UUID)text(Text)author_id(UUID)created_at(Timestamp)
There are other ways to generate a migration, here we will use the local Nhost Dashboard running on https://local.dashboard.local.nhost.run/local/local. Please head to the database tab and add the columns as follows:

To confirm that the migration was correctly generated with the correct SQL:
cat nhost/migrations/default/1685452095884_create_table_public_messages/up.sql
CREATE TABLE public.messages (id uuid DEFAULT gen_random_uuid() NOT NULL, text text NOT NULL, author_id uuid NOT NULL, created_at timestamp DEFAULT now() NOT NULL, PRIMARY KEY (id));
Now is a good time to commit the new migration.
git add .git commit -m 'add database migration to create the table `messages`'Metadata
Section titled “Metadata”Metadata is used to track the state of the API, permissions, event triggers, remote schemas, etc. In this guide, we will use permissions to show how metadata is tracked.
Again on the database tab of the Nhost Dashboard, click on the 3 dots right next to the table name and choose “Edit Permissions” to open the permissions editor.
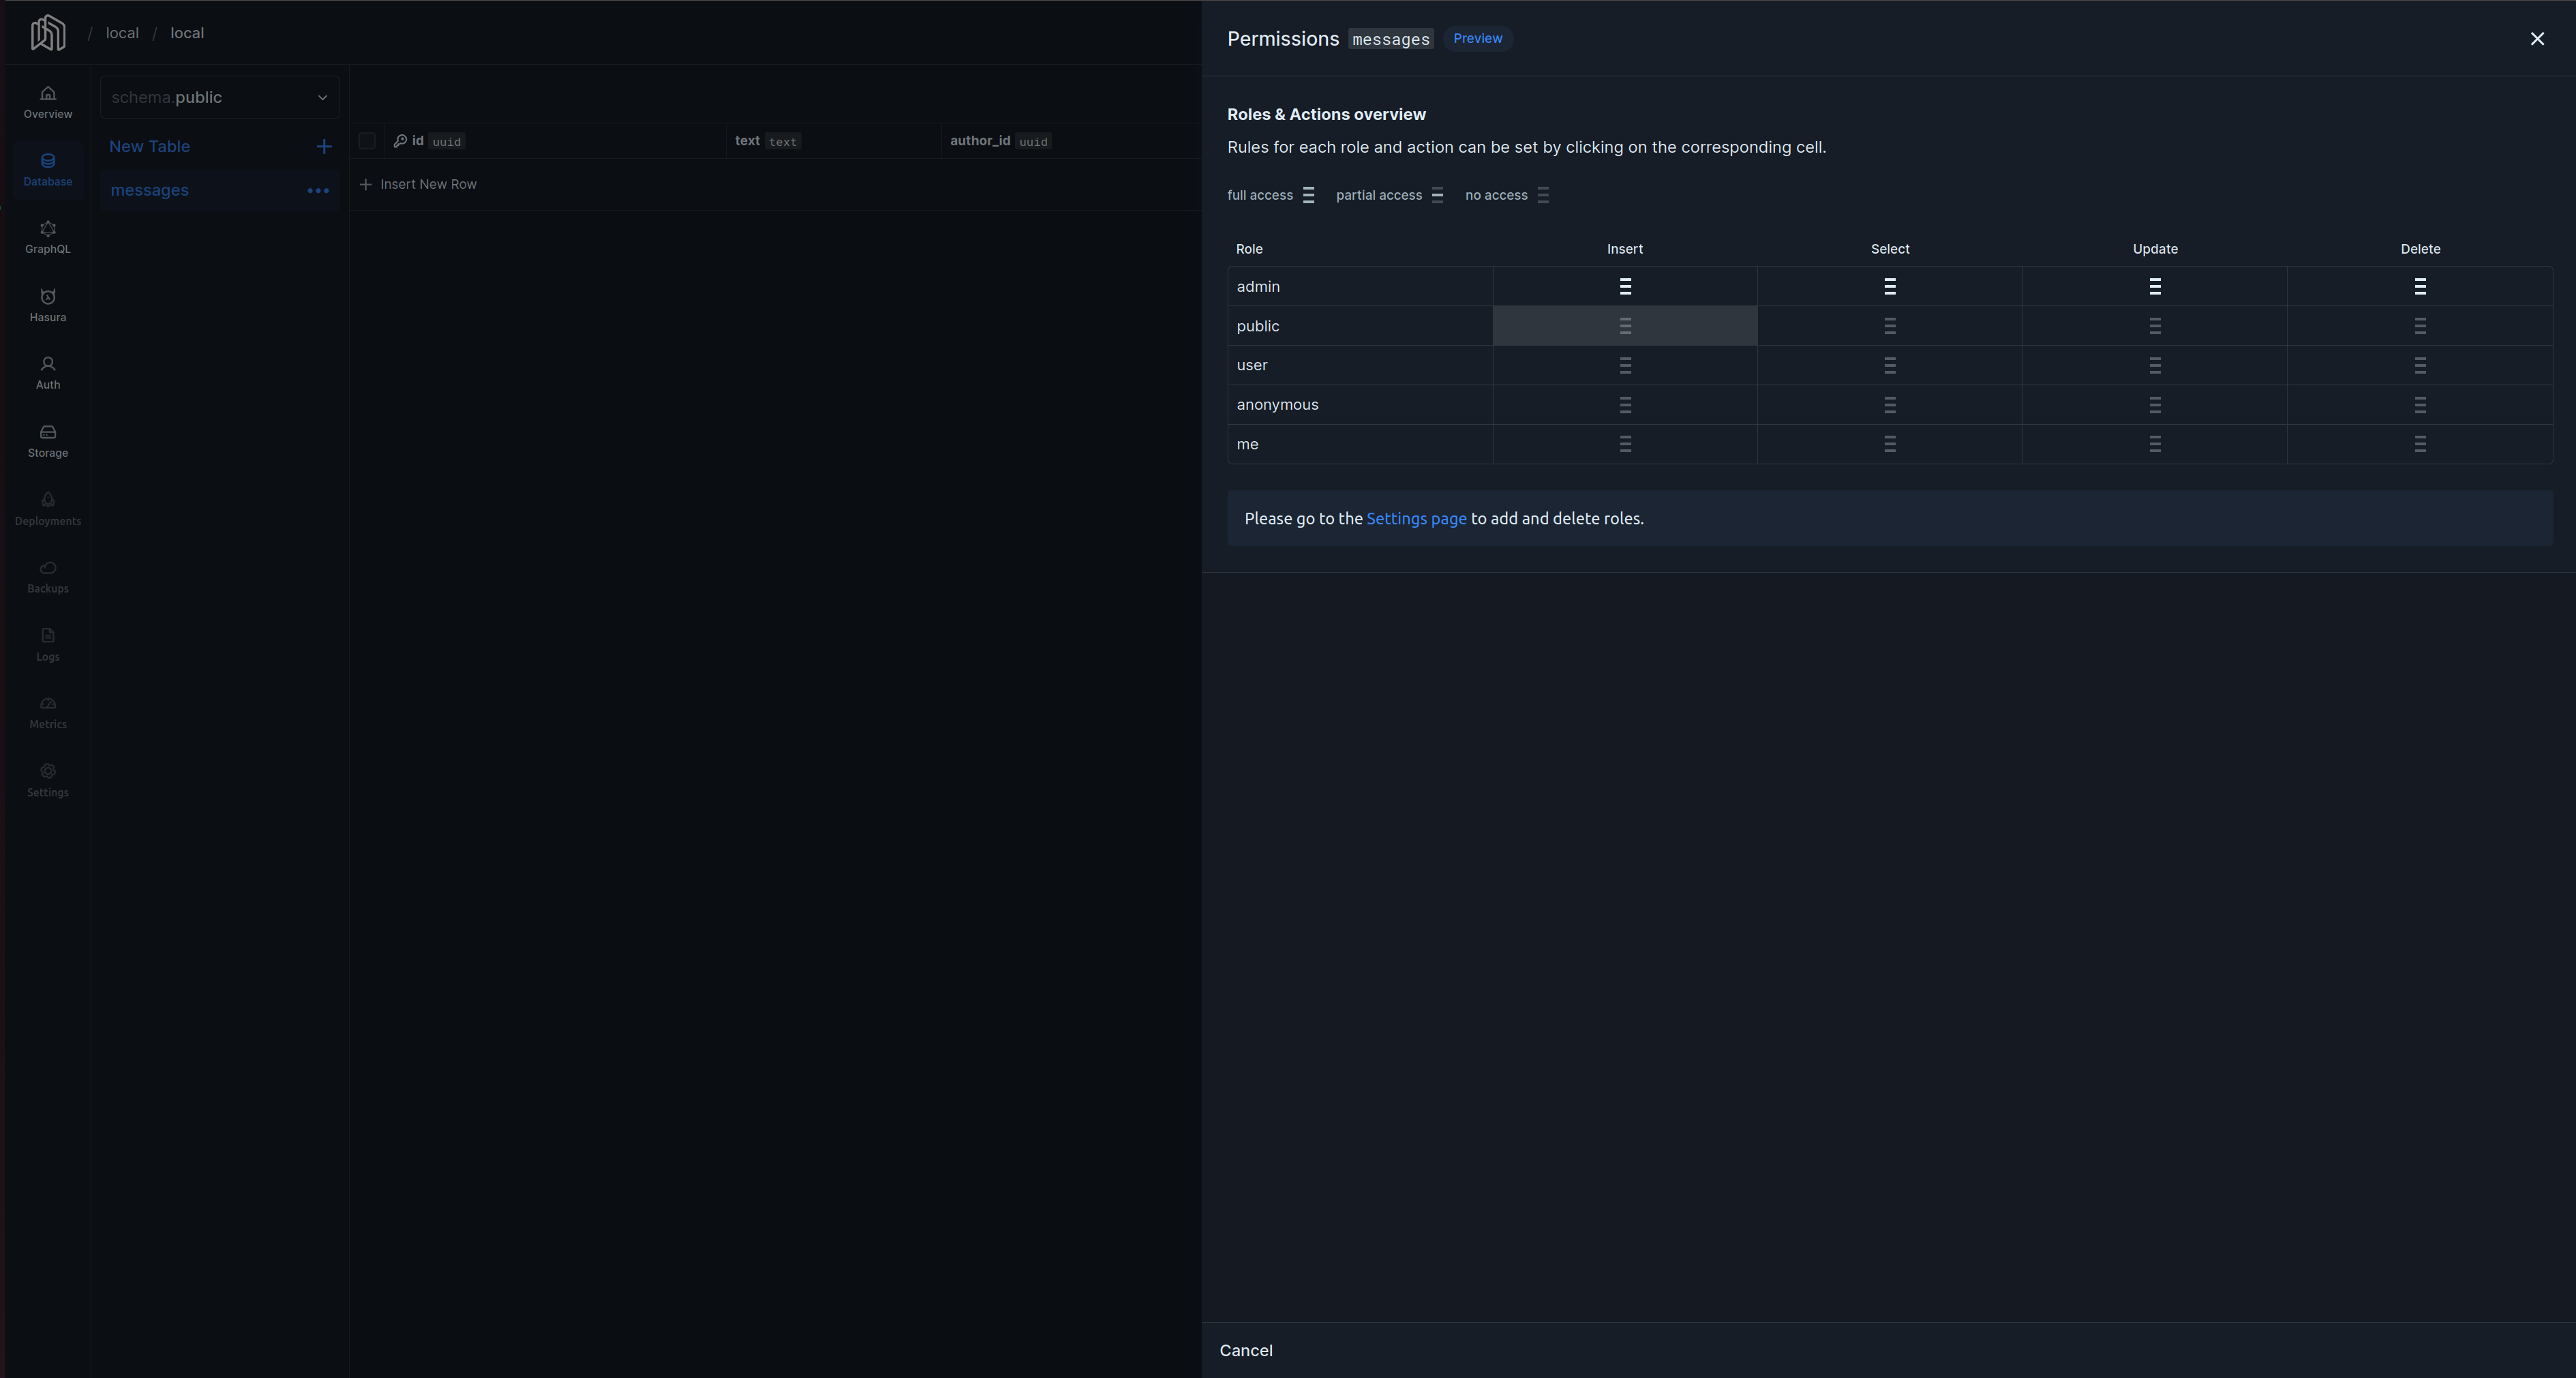
Here we have access to a matrix of permissions for all available roles and actions. We want to set a permission to the user role and insert action as follows:

We defined a simple permission to allow a user to insert or create messages. We can look at the underlying metadata that tracks it.
cat nhost/metadata/databases/default/tables/public_messages.yaml
table:  name: messages  schema: publicinsert_permissions:  - role: public    permission:      check:        author_id:          _eq: X-Hasura-User-Id      set:        author_id: X-Hasura-User-Id      columns:        - text
As before, we can now commit this change:
git add .git commit -m 'add permission for user insert messages'Deploy your Project to Nhost
Section titled “Deploy your Project to Nhost”We’ve been developing your project locally, introducing changes via the Dashboard, which in turn creates the actual database migrations and metadata changes that can be properly versioned and tracked. It’s time to deploy your project to the Nhost Platform using Git. If you haven’t already, please head to Nhost and create a project to deploy to. You will also need to connect a GitHub repository to it for automatic deployments with Git.
Link your project
Section titled “Link your project”It’s time to link, or associate, your local project to the remote one:
nhost linkYou have now successfully linked your local project to a hosted project running on the Nhost Cloud.
The final step is to push all changes to GitHub which will trigger a new deployment on Nhost.
git add -Agit push -u origin mainTo check out your deployment, head over to the Deployments tab (https://app.nhost.io/orgs/_/projects/_/deployments - Note: _ is a placeholder for the user’s org/project).
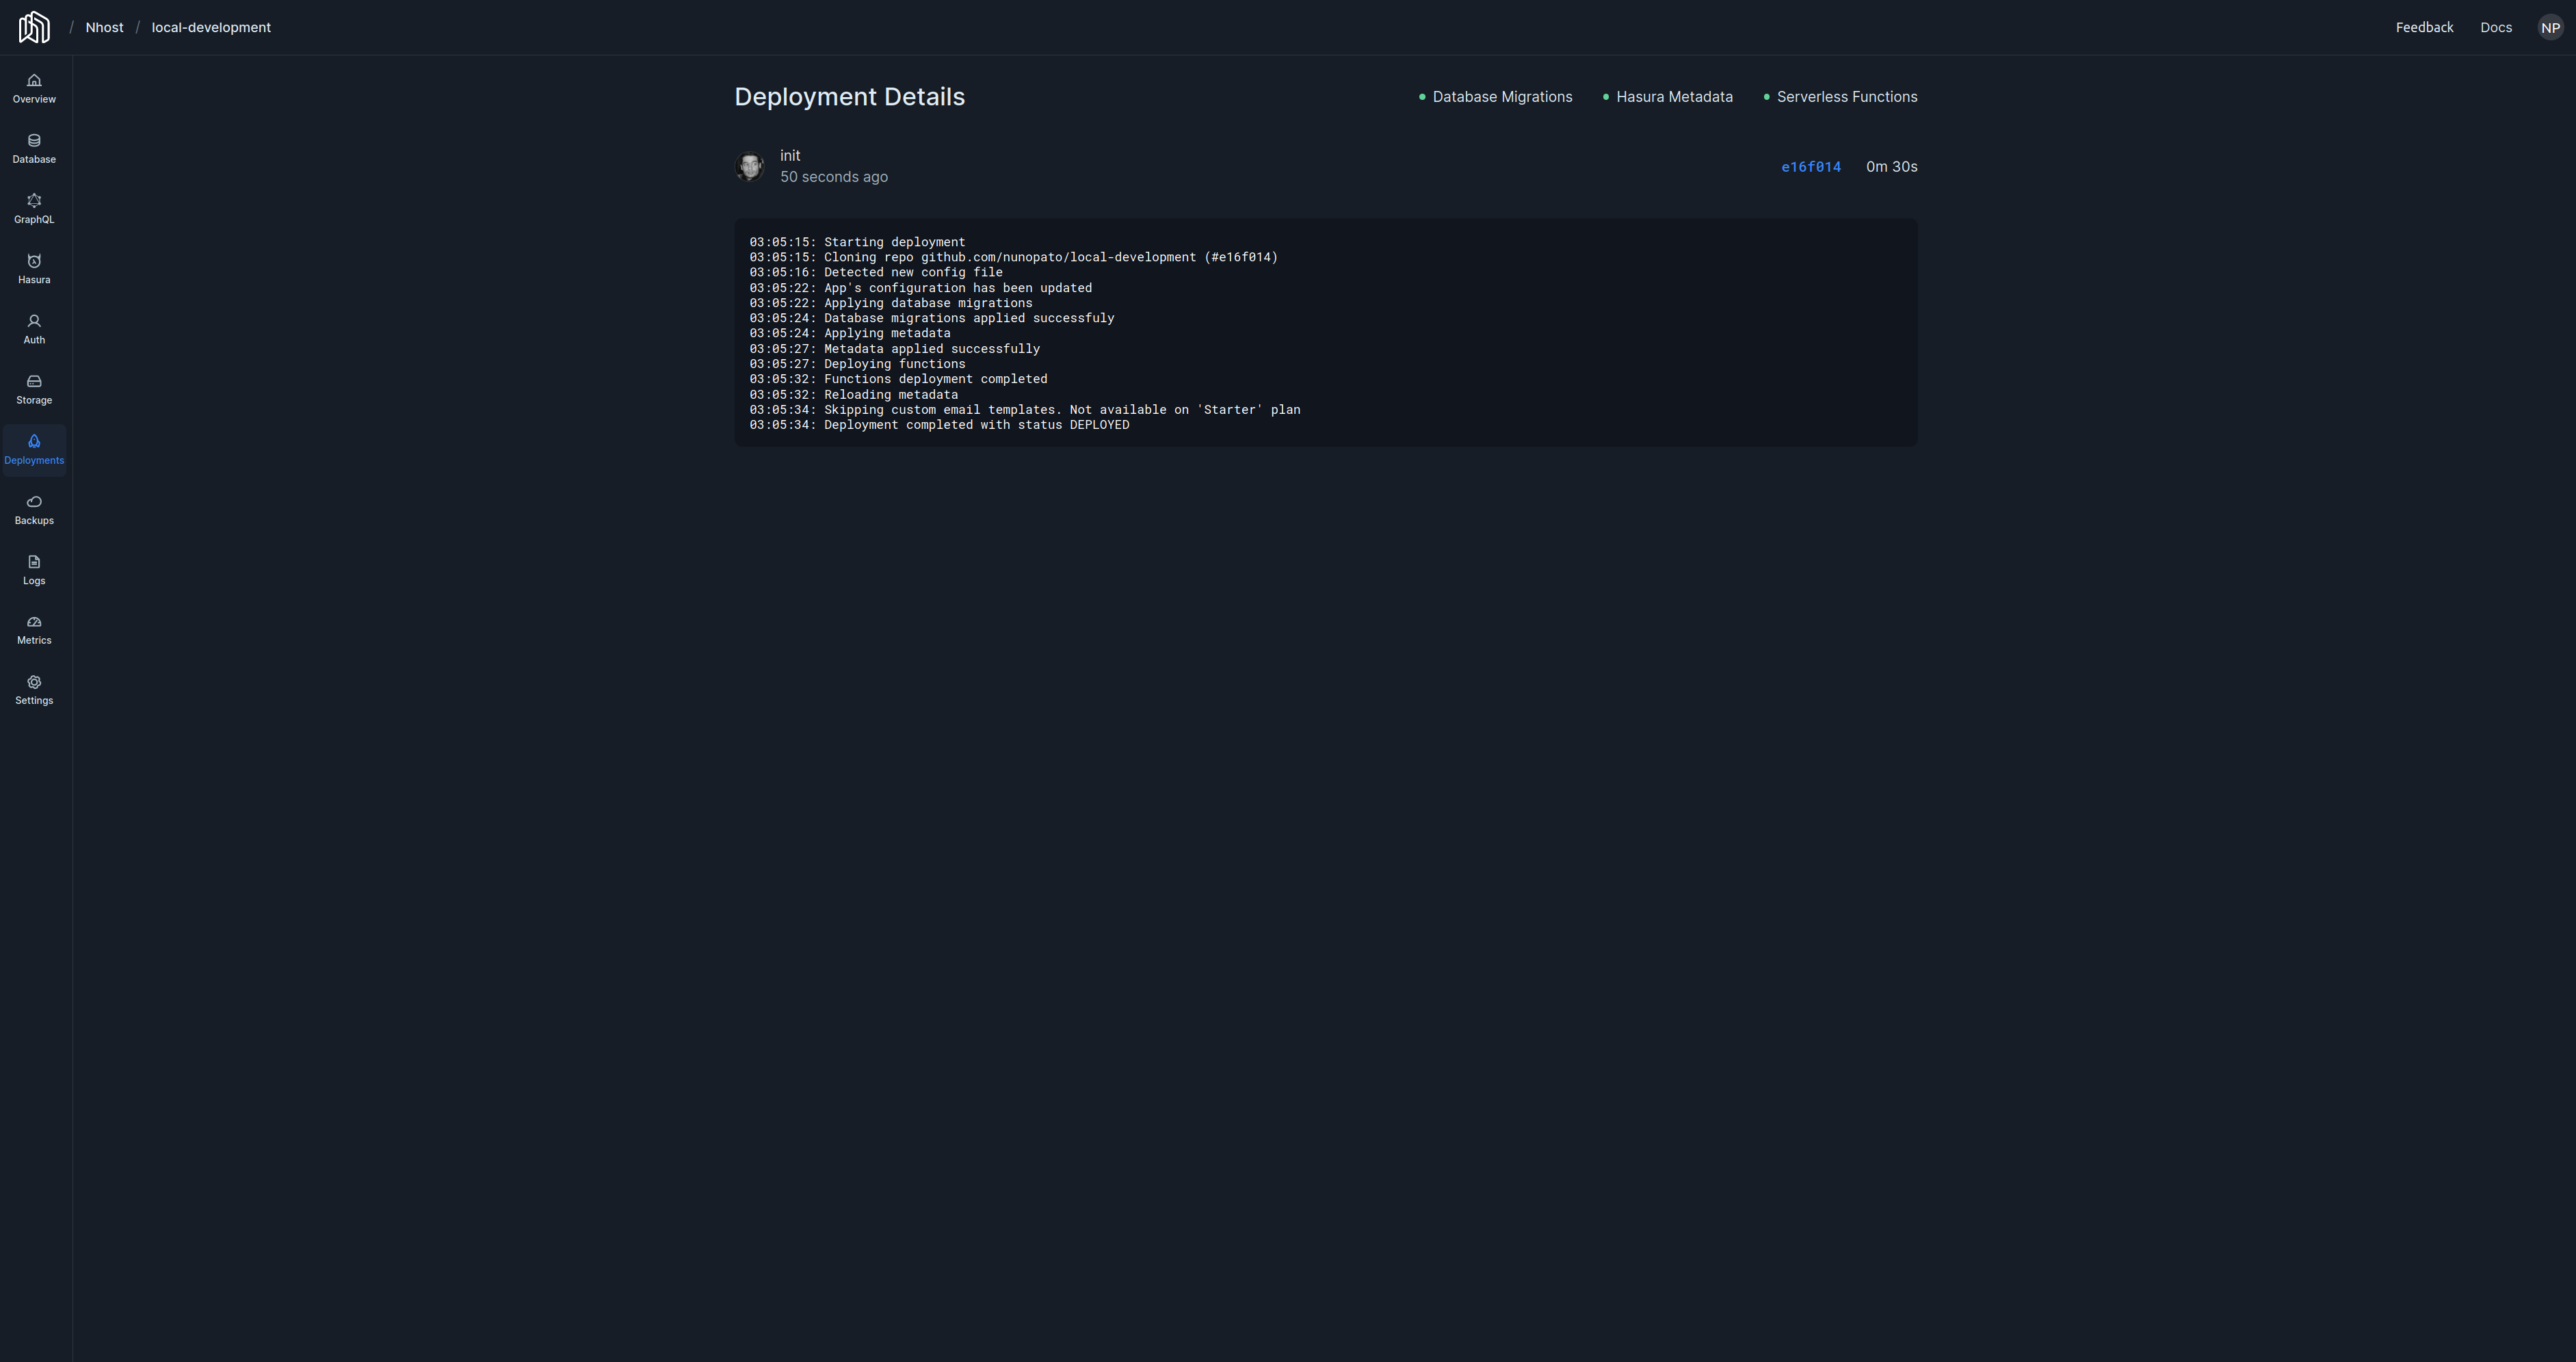
You should now have the same messages table (and permissions) on your production instance!
See also
Section titled “See also”For the full list of commands, flags, and environment variables, see the Nhost CLI Reference.