

Get up and running with Nhost and Next.js
Build a Next.js app with Nhost in minutes: connect the SDK, run GraphQL queries, and add authentication with server-side rendering support.
Next.js quickstart React Nhost SDK GraphQL server-side renderingCreate Project
Section titled “Create Project”If you haven’t, please create a project through the Nhost Dashboard.
Setup Database
Section titled “Setup Database”Navigate to the SQL Editor of the database and run the following SQL to create a new table movies with some great movies.
CREATE TABLE movies (  id SERIAL PRIMARY KEY,  title VARCHAR(255) NOT NULL,  director VARCHAR(255),  release_year INTEGER,  genre VARCHAR(100),  rating FLOAT);
INSERT INTO movies (title, director, release_year, genre, rating) VALUES  ('Inception', 'Christopher Nolan', 2010, 'Sci-Fi', 8.8),  ('The Godfather', 'Francis Ford Coppola', 1972, 'Crime', 9.2),  ('Forrest Gump', 'Robert Zemeckis', 1994, 'Drama', 8.8),  ('The Matrix', 'Lana Wachowski, Lilly Wachowski', 1999, 'Action', 8.7);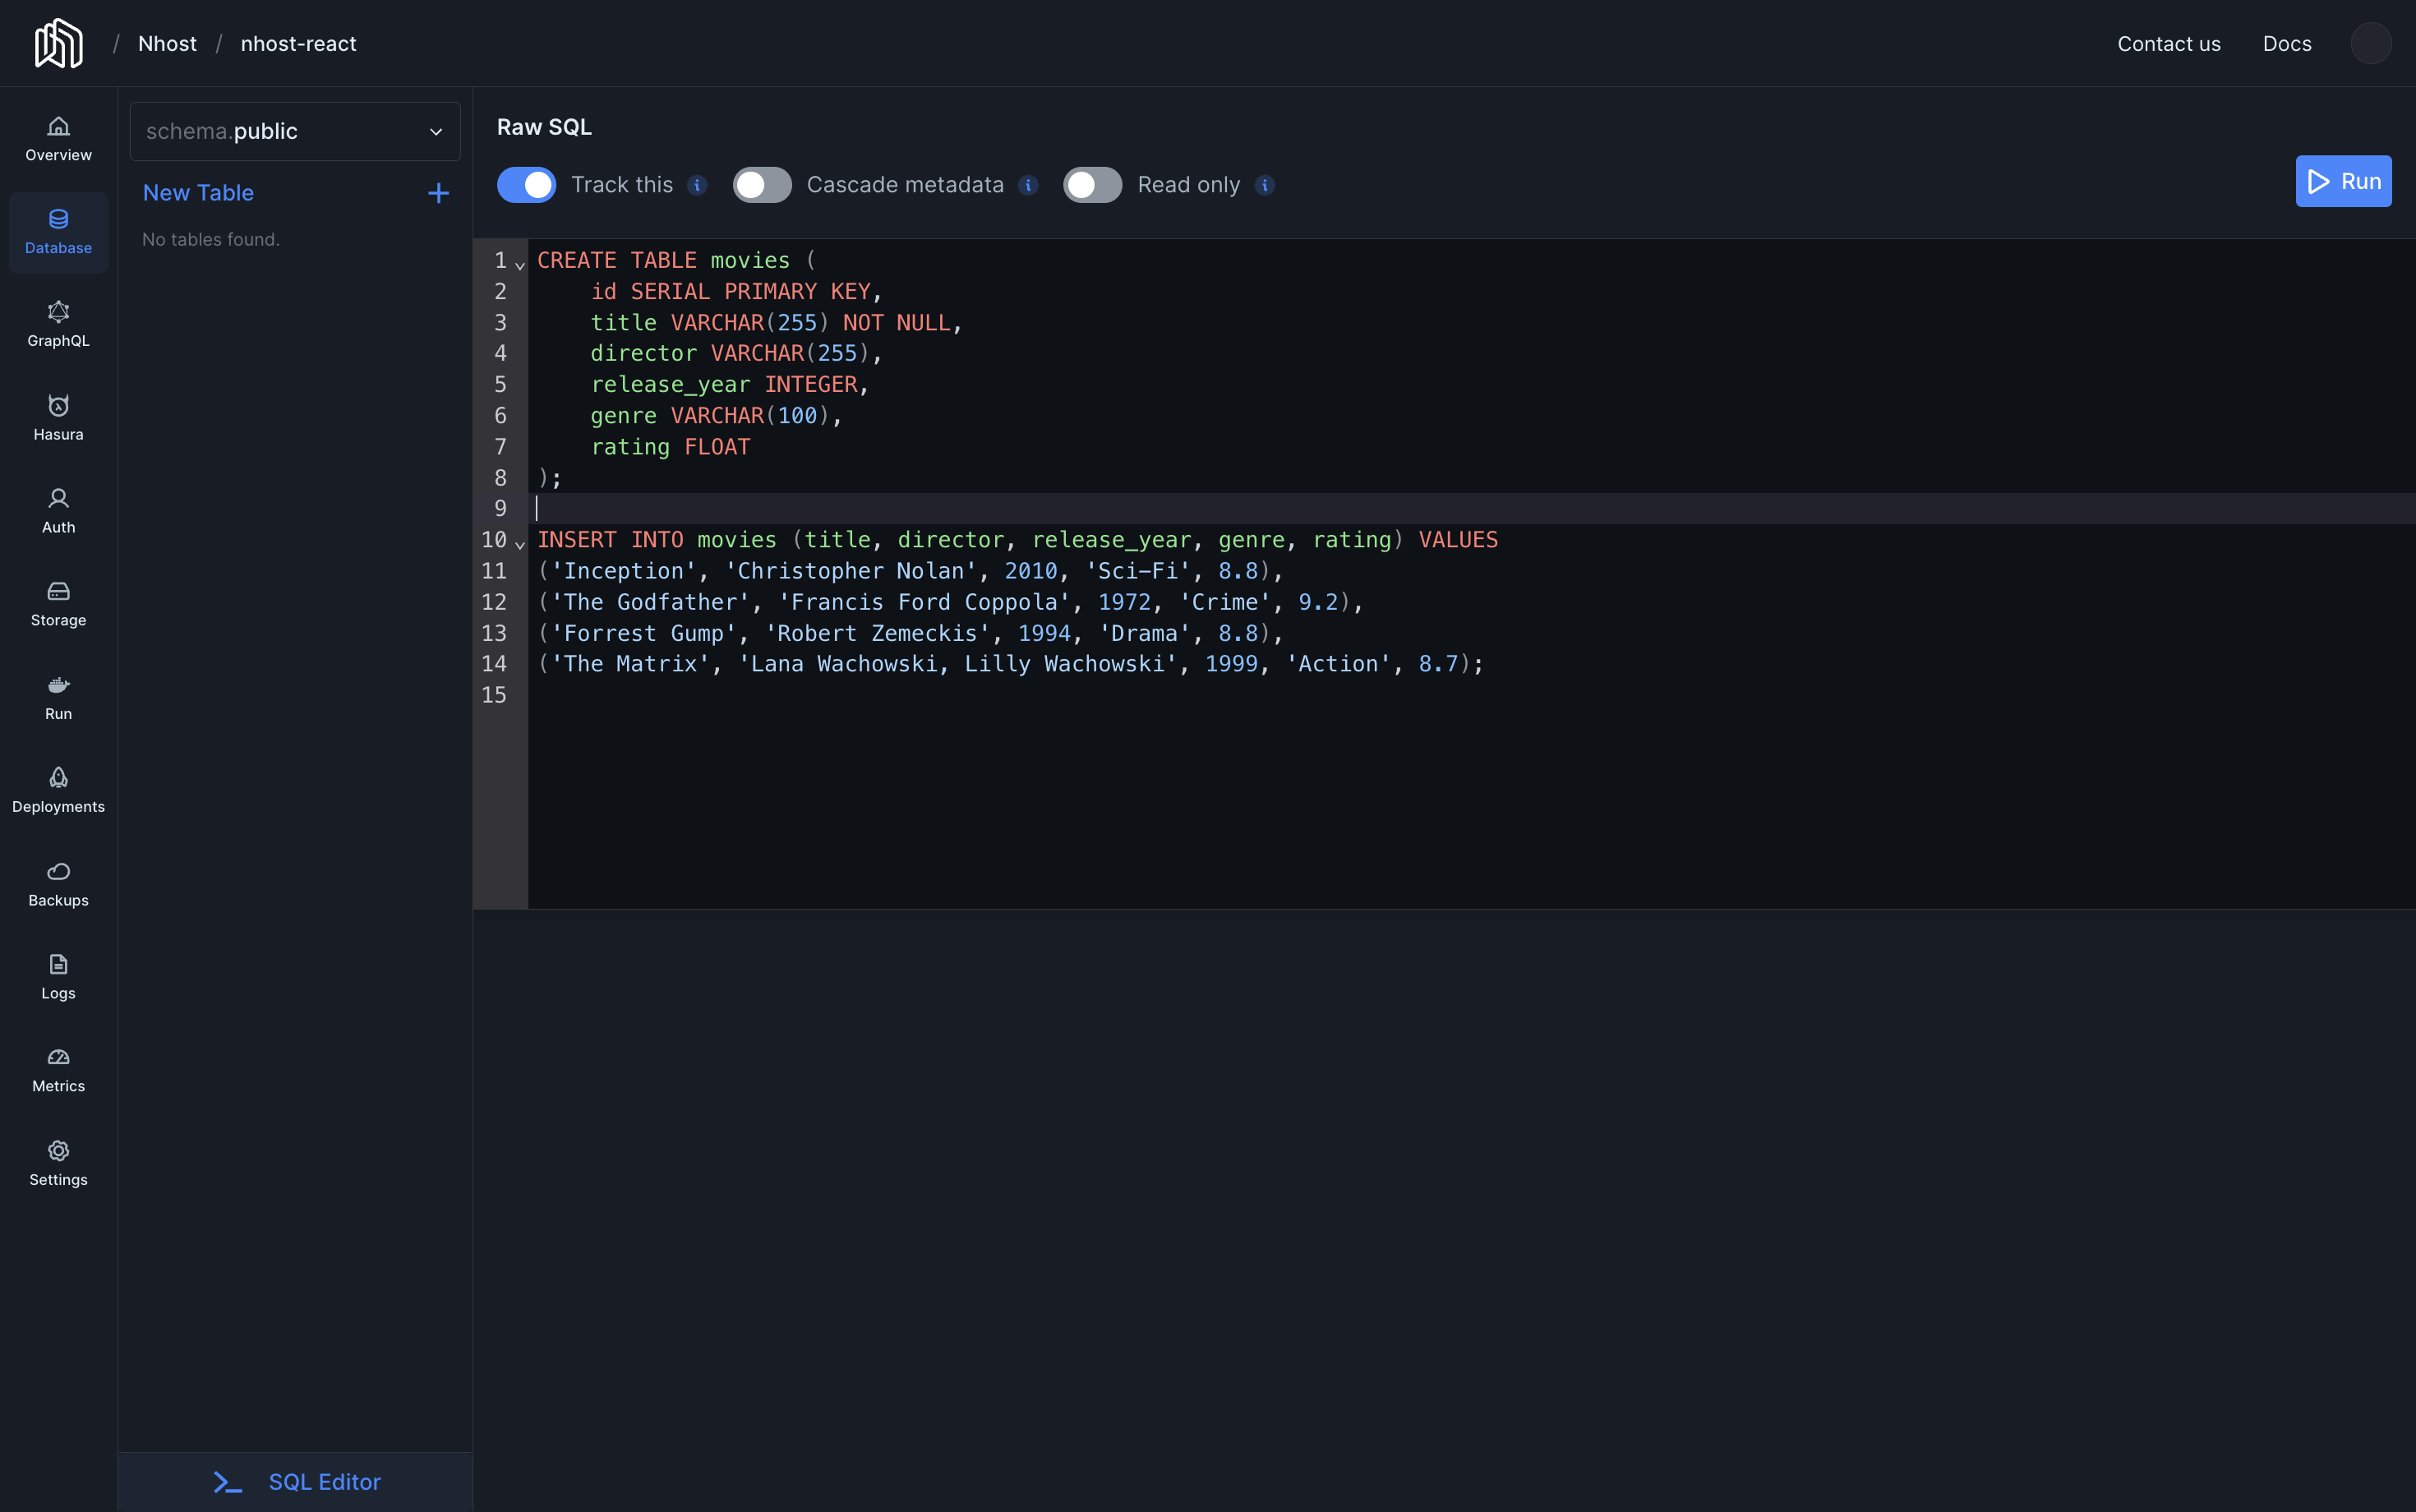
Permissions
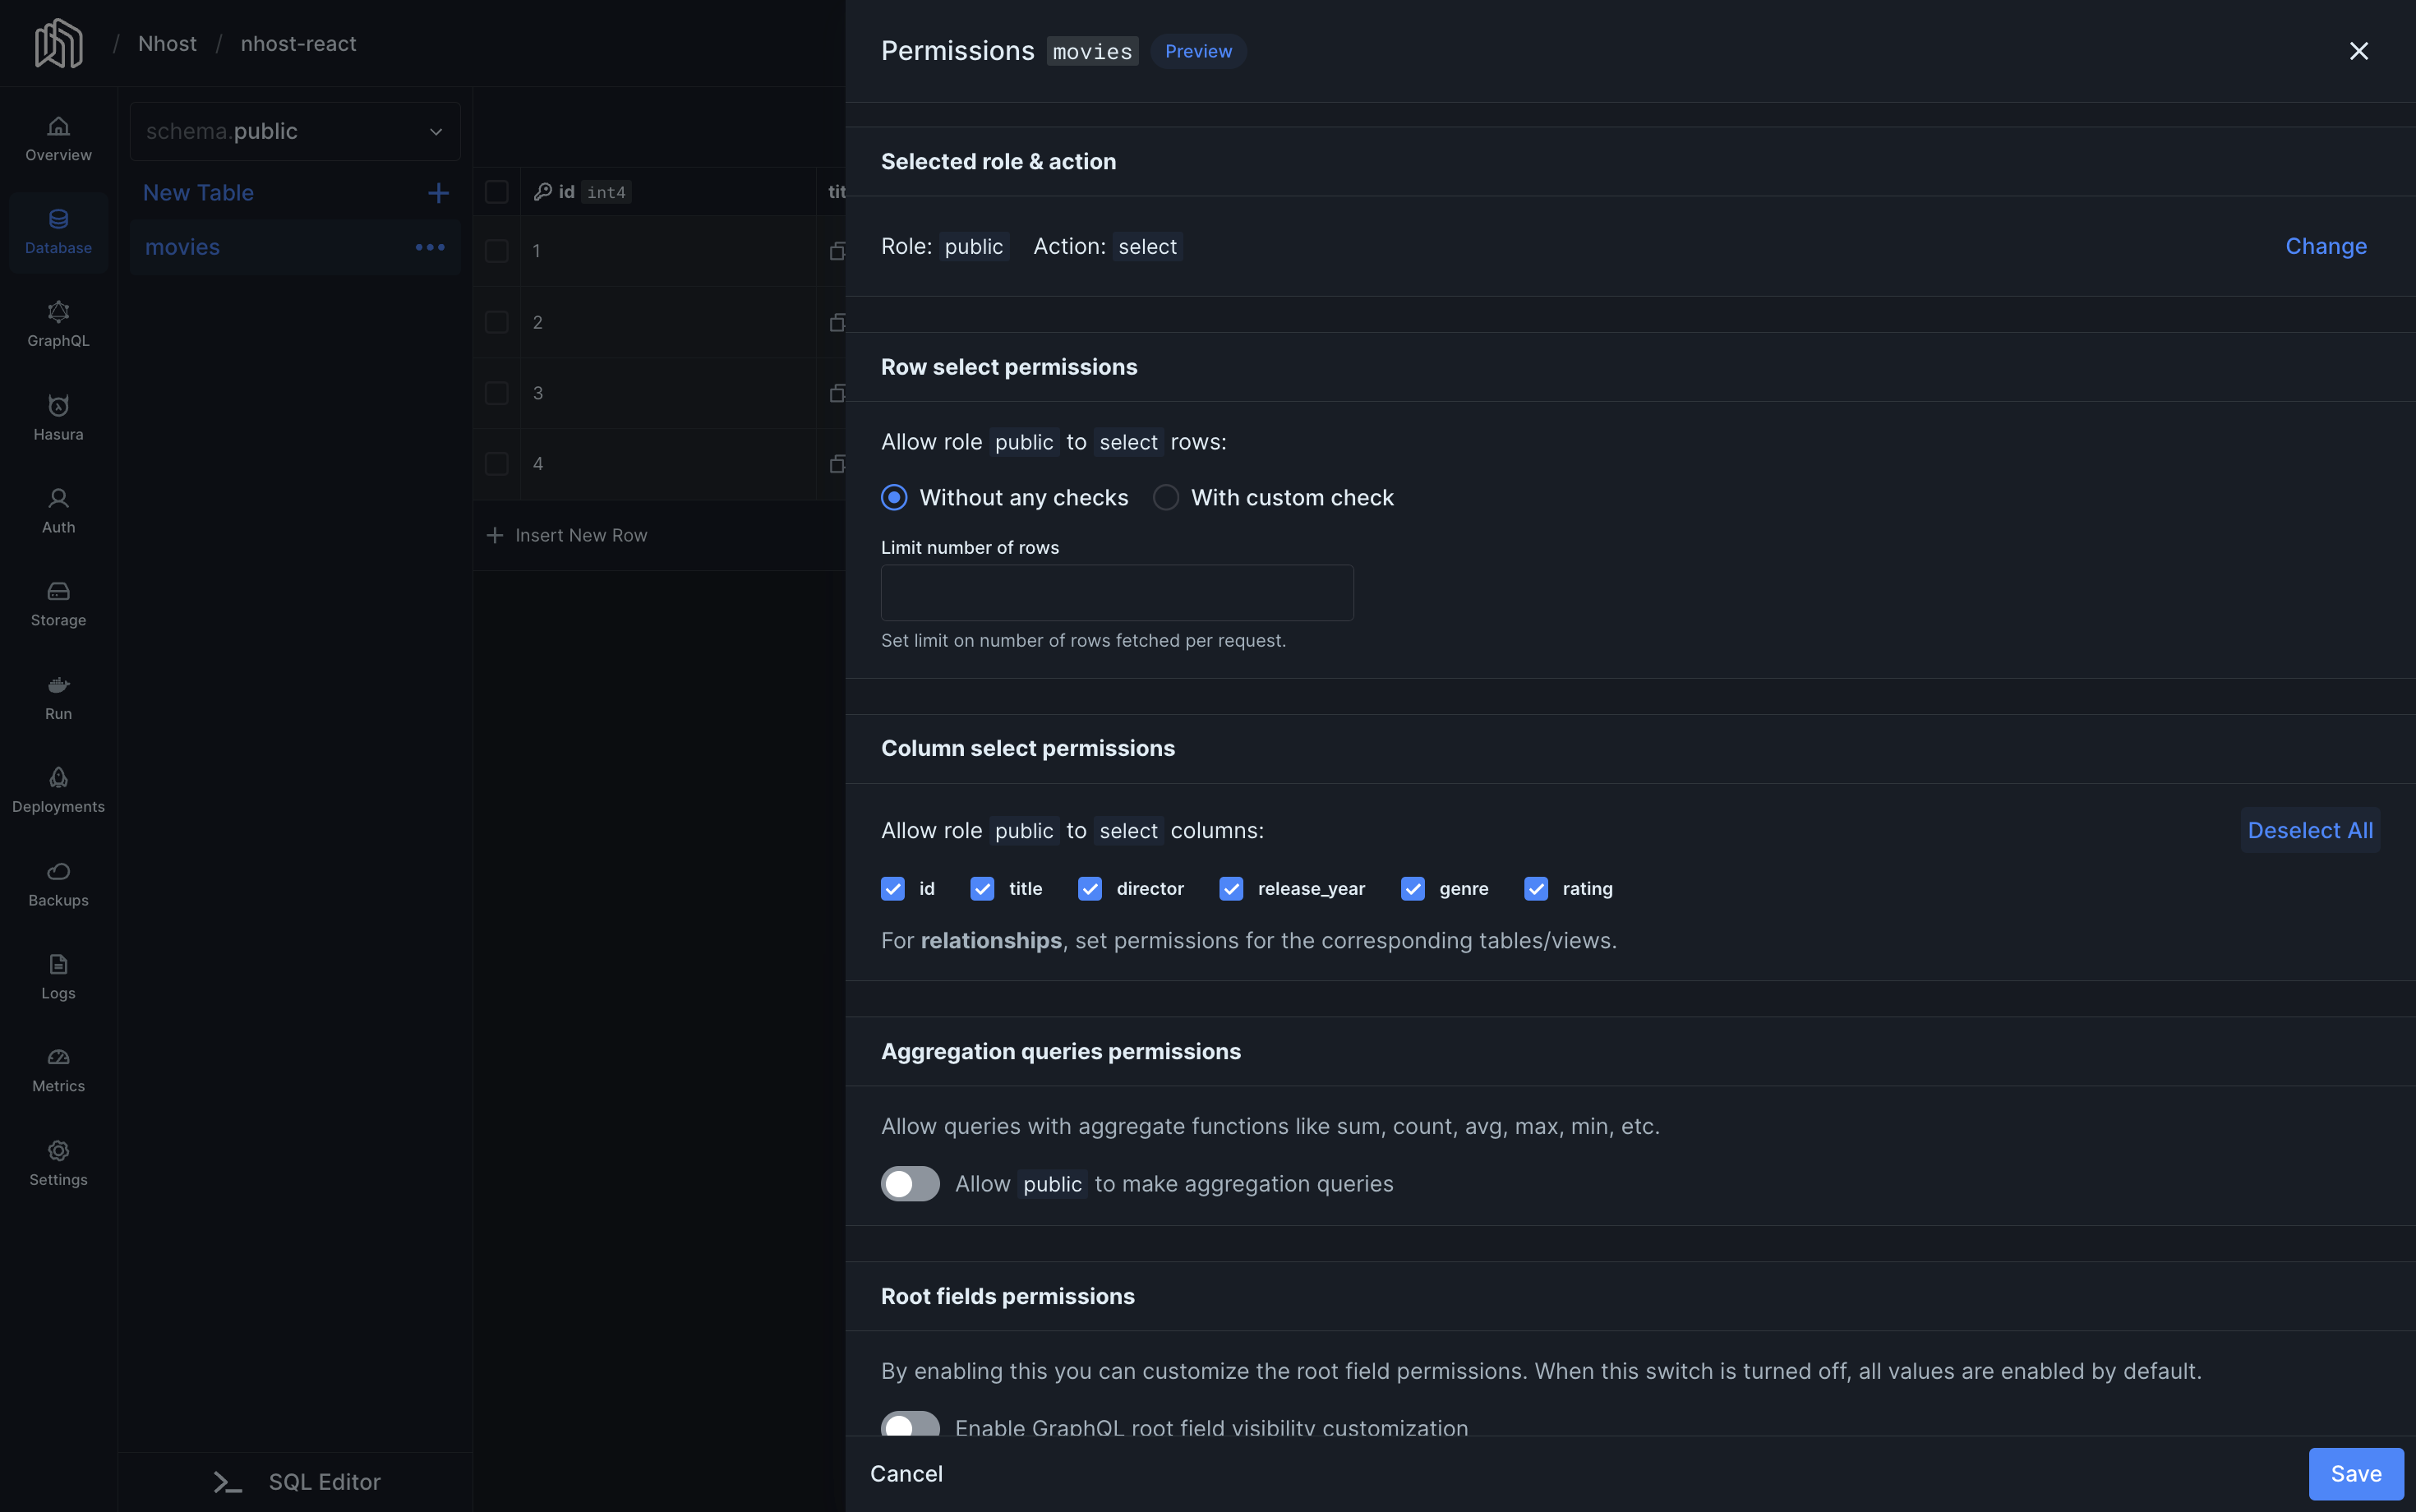
Section titled “Permissions”Select the new table movies just created, and click in Edit Permissions to set the following permissions for the public role and select action.
Setup the Application
Section titled “Setup the Application”Create the application using standard tooling:
npx create-next-app@latest my-app --yes --js --src-dircd my-appInstall the Nhost package
Section titled “Install the Nhost package”Navigate to the application and install @nhost/nhost-js.
npm install @nhost/nhost-jsConfigure the Nhost client and fetch the list of movies
Section titled “Configure the Nhost client and fetch the list of movies”import { createClient } from "@nhost/nhost-js";
// Replace <subdomain> and <region> with your project's valuesexport const nhost = createClient({ subdomain: "<subdomain>", region: "<region>",})import { nhost } from '../lib/nhost'
async function getMovies() { try { const resp = await nhost.graphql.request({ query: `query GetMovies { movies { title director release_year genre rating } }`, }) return resp.body?.data?.movies || [] } catch (error) { console.error('Failed to fetch movies:', error) return [] }}
export default async function Home() { const movies = await getMovies()
return ( <div> <h1>Movies</h1> <table> <thead> <tr> <th>Title</th> <th>Director</th> <th>Release Year</th> <th>Genre</th> <th>Rating</th> </tr> </thead> <tbody> {movies.map((movie, index) => ( <tr key={index}> <td>{movie.title}</td> <td>{movie.director}</td> <td>{movie.release_year}</td> <td>{movie.genre}</td> <td>{movie.rating}</td> </tr> ))} </tbody> </table> </div> )}The end
Section titled “The end”Run your project with npm run dev and navigate to http://localhost:3000 in your browser.
Related resources
Section titled “Related resources”- Full source code on GitHub — a complete example configured for a local Nhost project