About This Tutorial Series
This tutorial series is divided into 5 parts, each focusing on a specific aspect of building modern web applications with Nhost and Next.js. By the end of the series, you’ll have built a fully functional application featuring:- User Authentication - Complete sign up, sign in, and email verification flow
- Todo Management - Users can create, update, delete, and mark todos as complete
- File Uploads - Users can upload and manage files with proper permissions
- Protected Routes - Secure areas that only authenticated users can access
This is Part 1 in the Full-Stack Next.js Development with Nhost series. This tutorial sets up the foundation by creating your Nhost project and understanding the series structure.
Full-Stack Next.js Development with Nhost
1. Create Project
Current - Set up your Nhost project
2. Protected Routes
Route protection basics
3. User Authentication
Complete auth flow
4. GraphQL Operations
CRUD operations with GraphQL
5. File Uploads
File upload and management
What You’ll Learn
Throughout this series, you’ll master:- Setting up and configuring Nhost projects
- Implementing secure authentication flows
- Building protected routes with Next.js Router
- Performing GraphQL queries and mutations
- Managing file uploads and storage
- Configuring database permissions and security
- Building responsive Next.js interfaces
Prerequisites
- Node.js 20+ installed on your machine
- Basic knowledge of Next.js and JavaScript
- Understanding of modern web development concepts
Step-by-Step Guide
1

2
Create a New Project
Click on the “Create Project” button on your dashboard or follow the onboarding prompts if you’re a new user.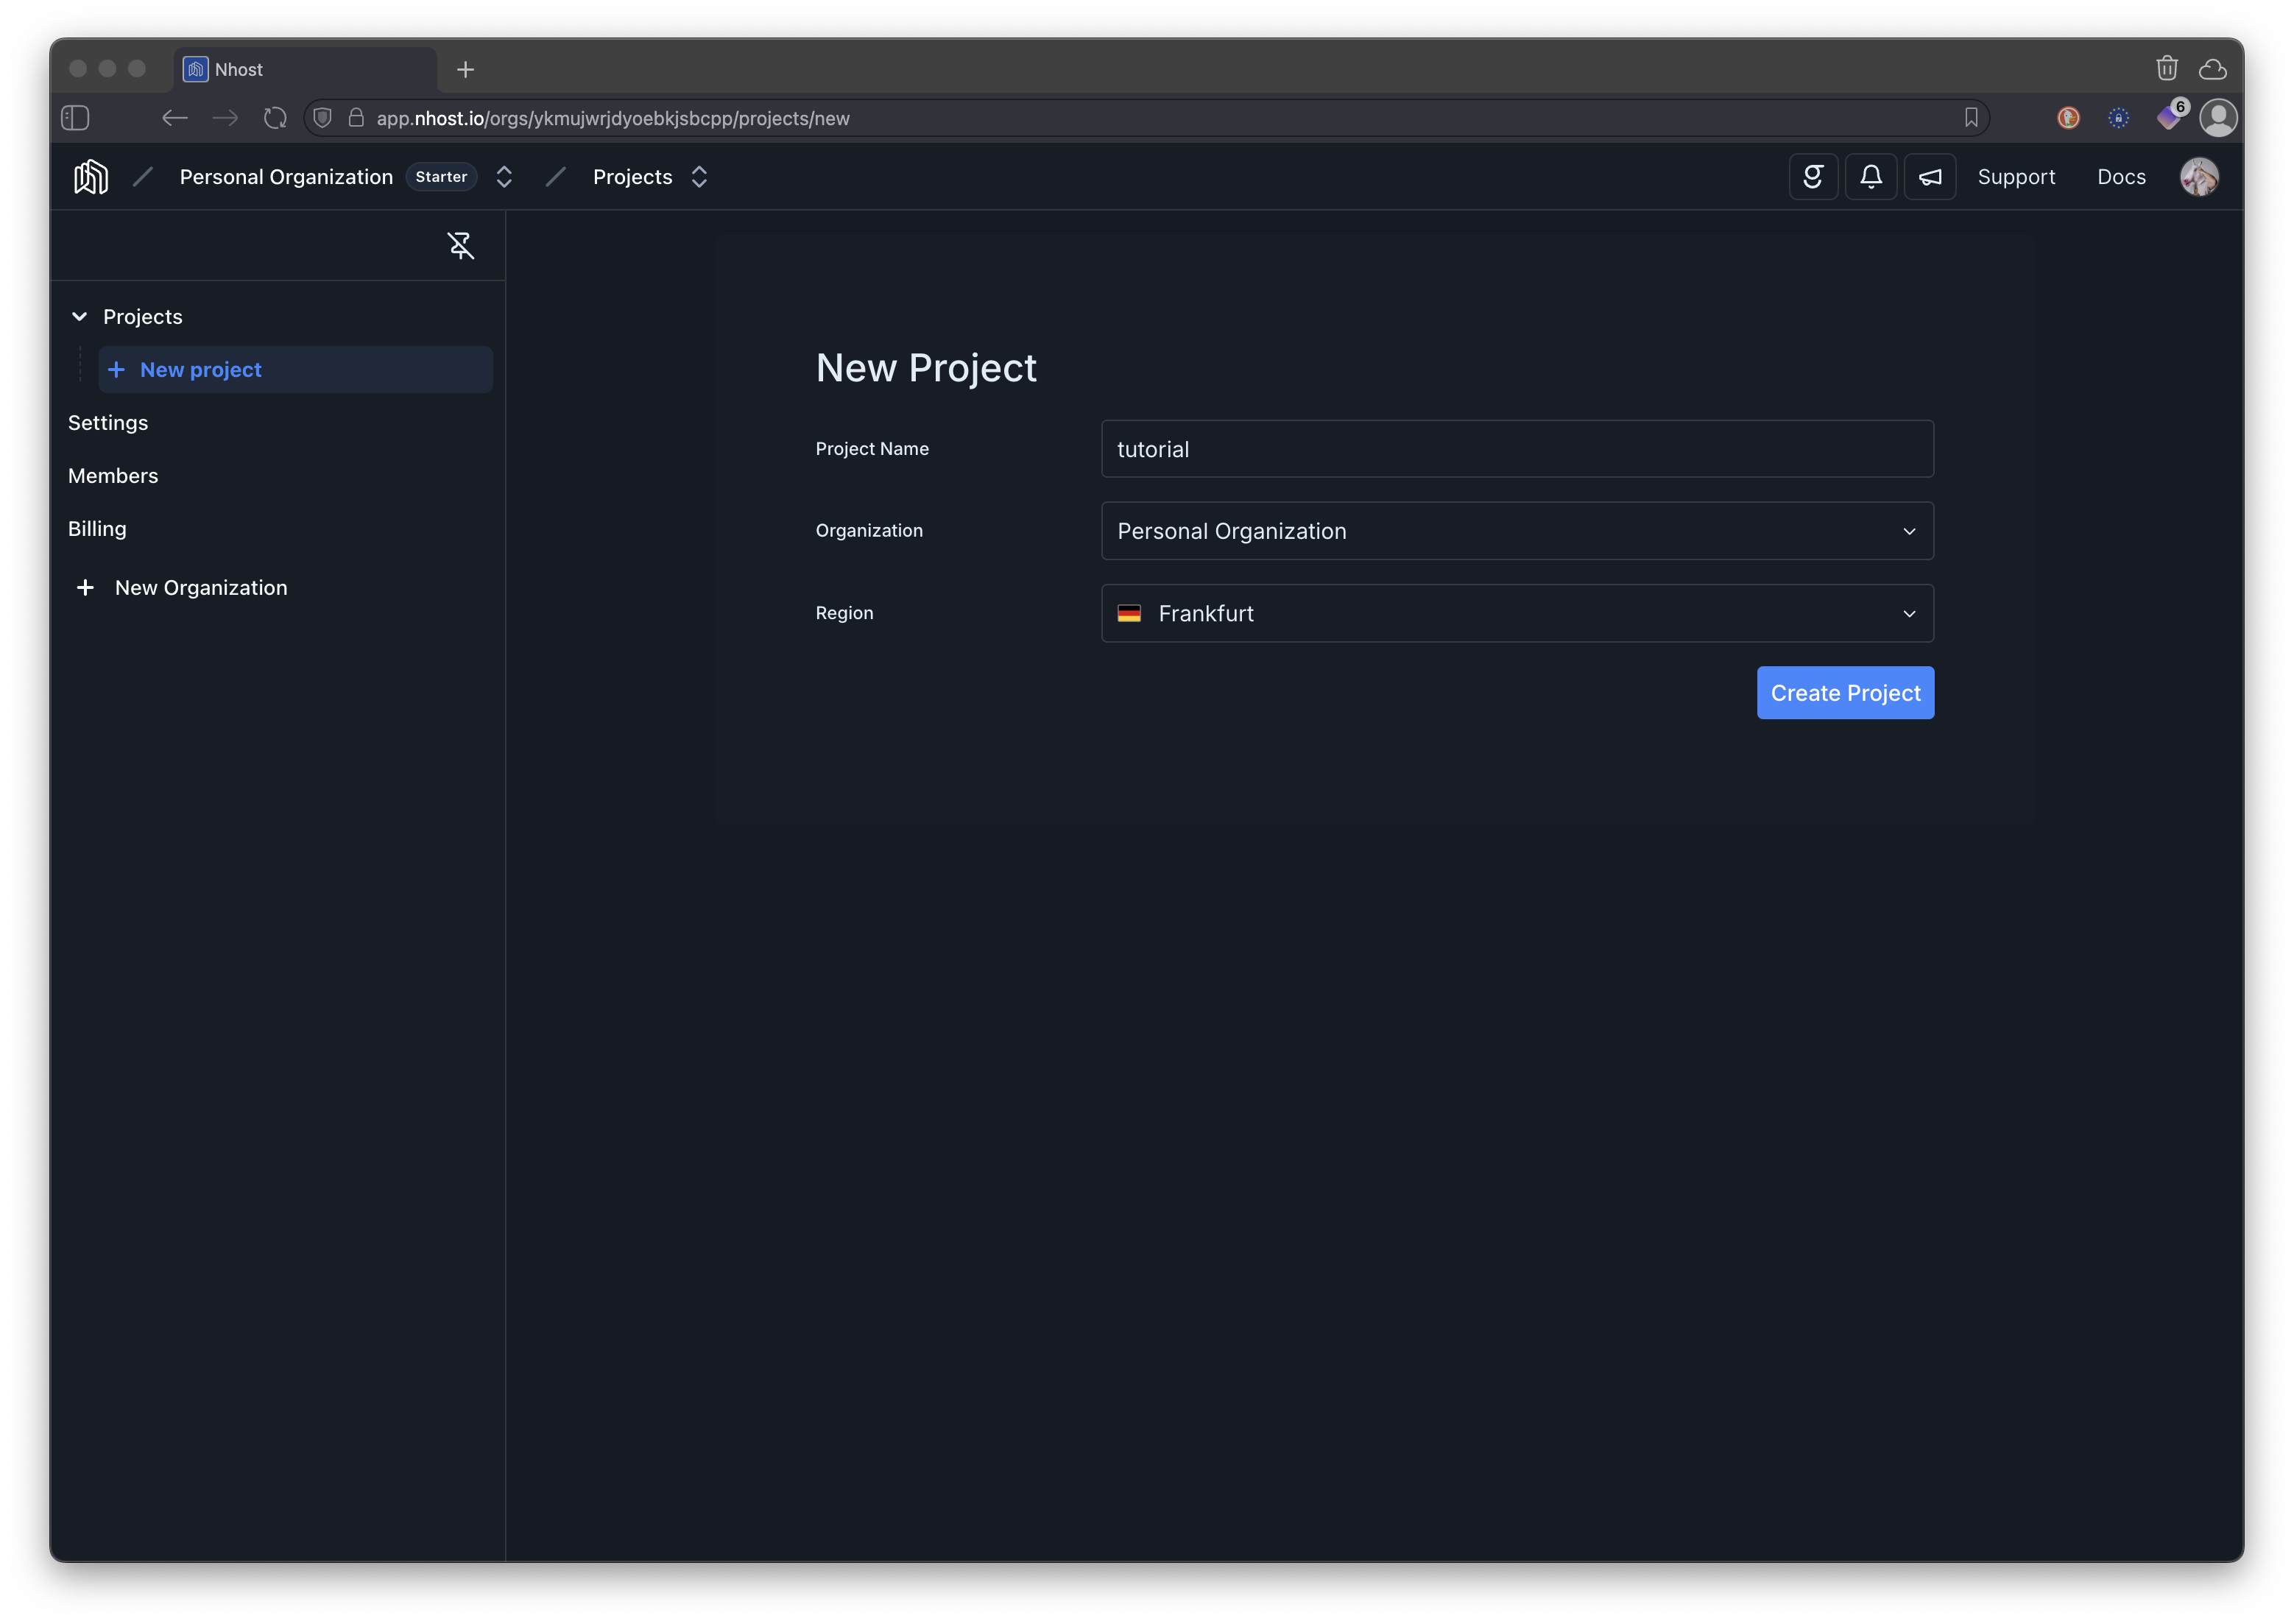
3
Take note of your project subdomain and region
Take note of your project subdomain and region. You will need this information to connect your application to the Nhost backend in upcoming tutorials.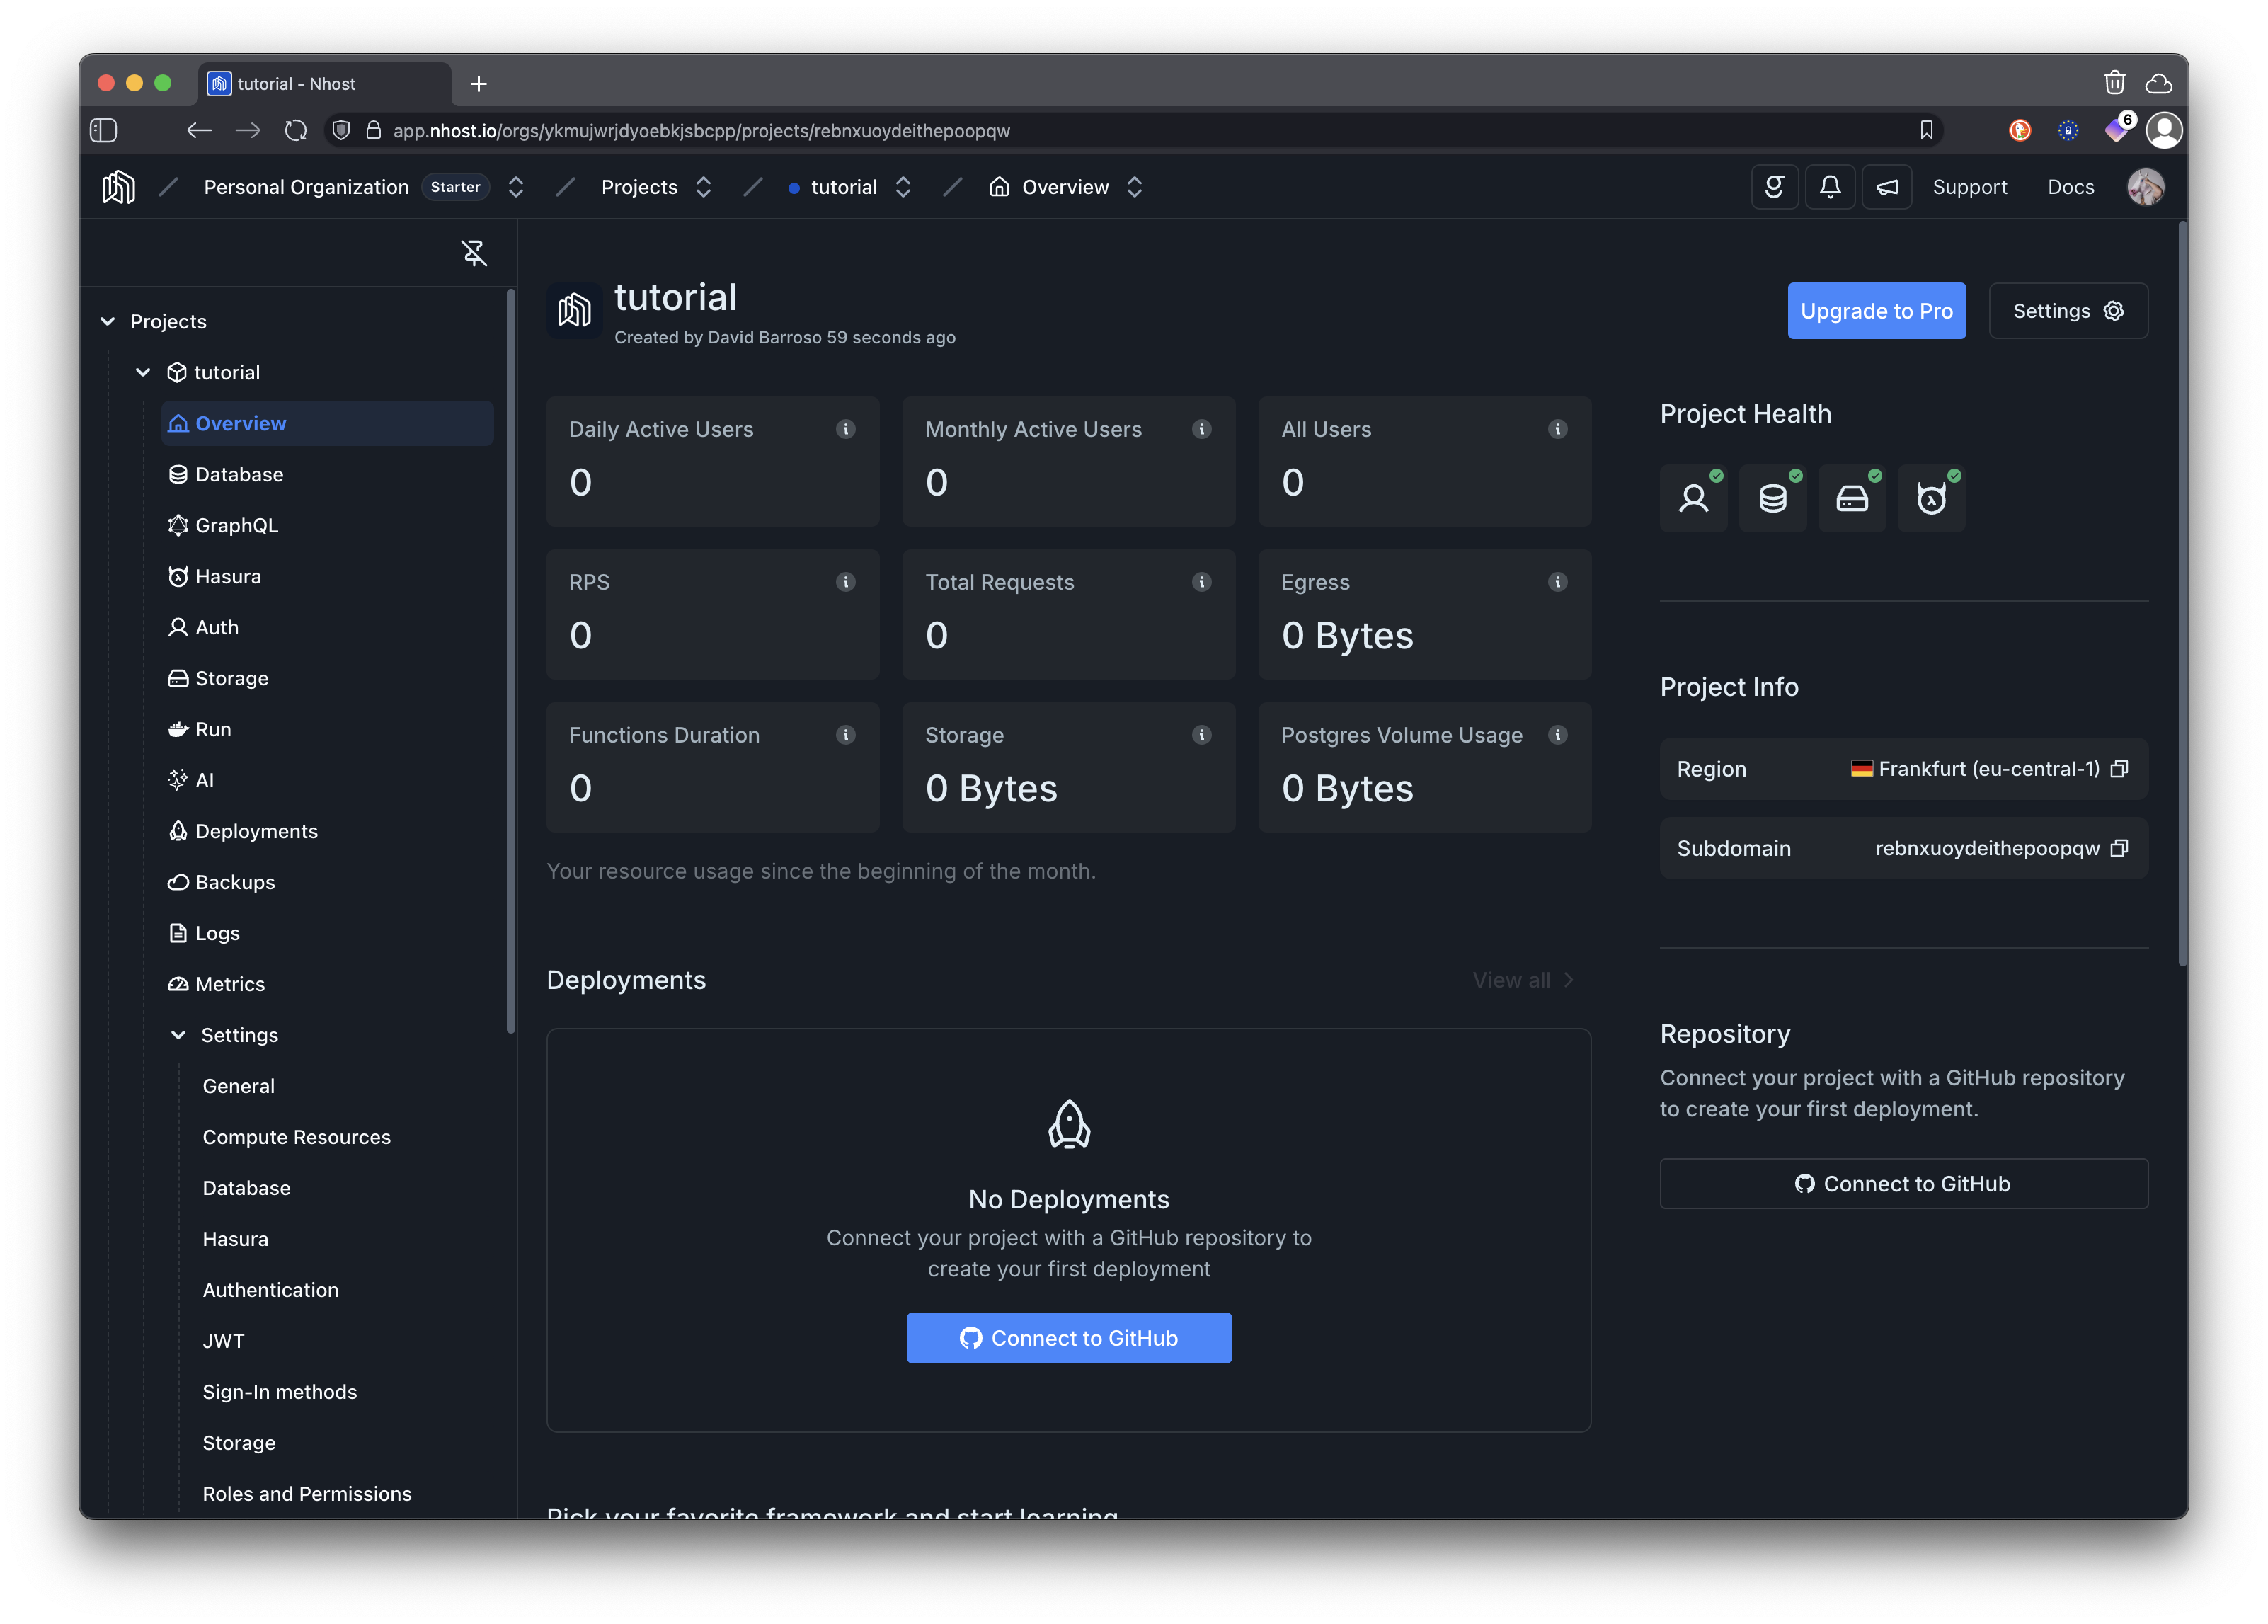
What’s Next?
With your Nhost project created, you now have access to:- PostgreSQL Database - For storing your application data
- Authentication Service - For managing users and sessions
- GraphQL API - For querying and mutating data
- File Storage - For uploading and managing files
- Functions - For running serverless functions