Database
To store todos
Auth
To sign in users
Storage
To store attachments
Setup Nhost Backend
In this section, you will create and setup your first Nhost project.Create project
Create a new project in the Nhost Dashboard. Enter the details for your project and wait a couple of minutes while Nhost provisions your backend infrastructure:- Dedicated PostgreSQL
- Realtime APIs over your data
- Authentication for managing your users
- Storage for handling files
Create table todos
On the project’s dashboard, navigate to Database and create a new table calledtodos.
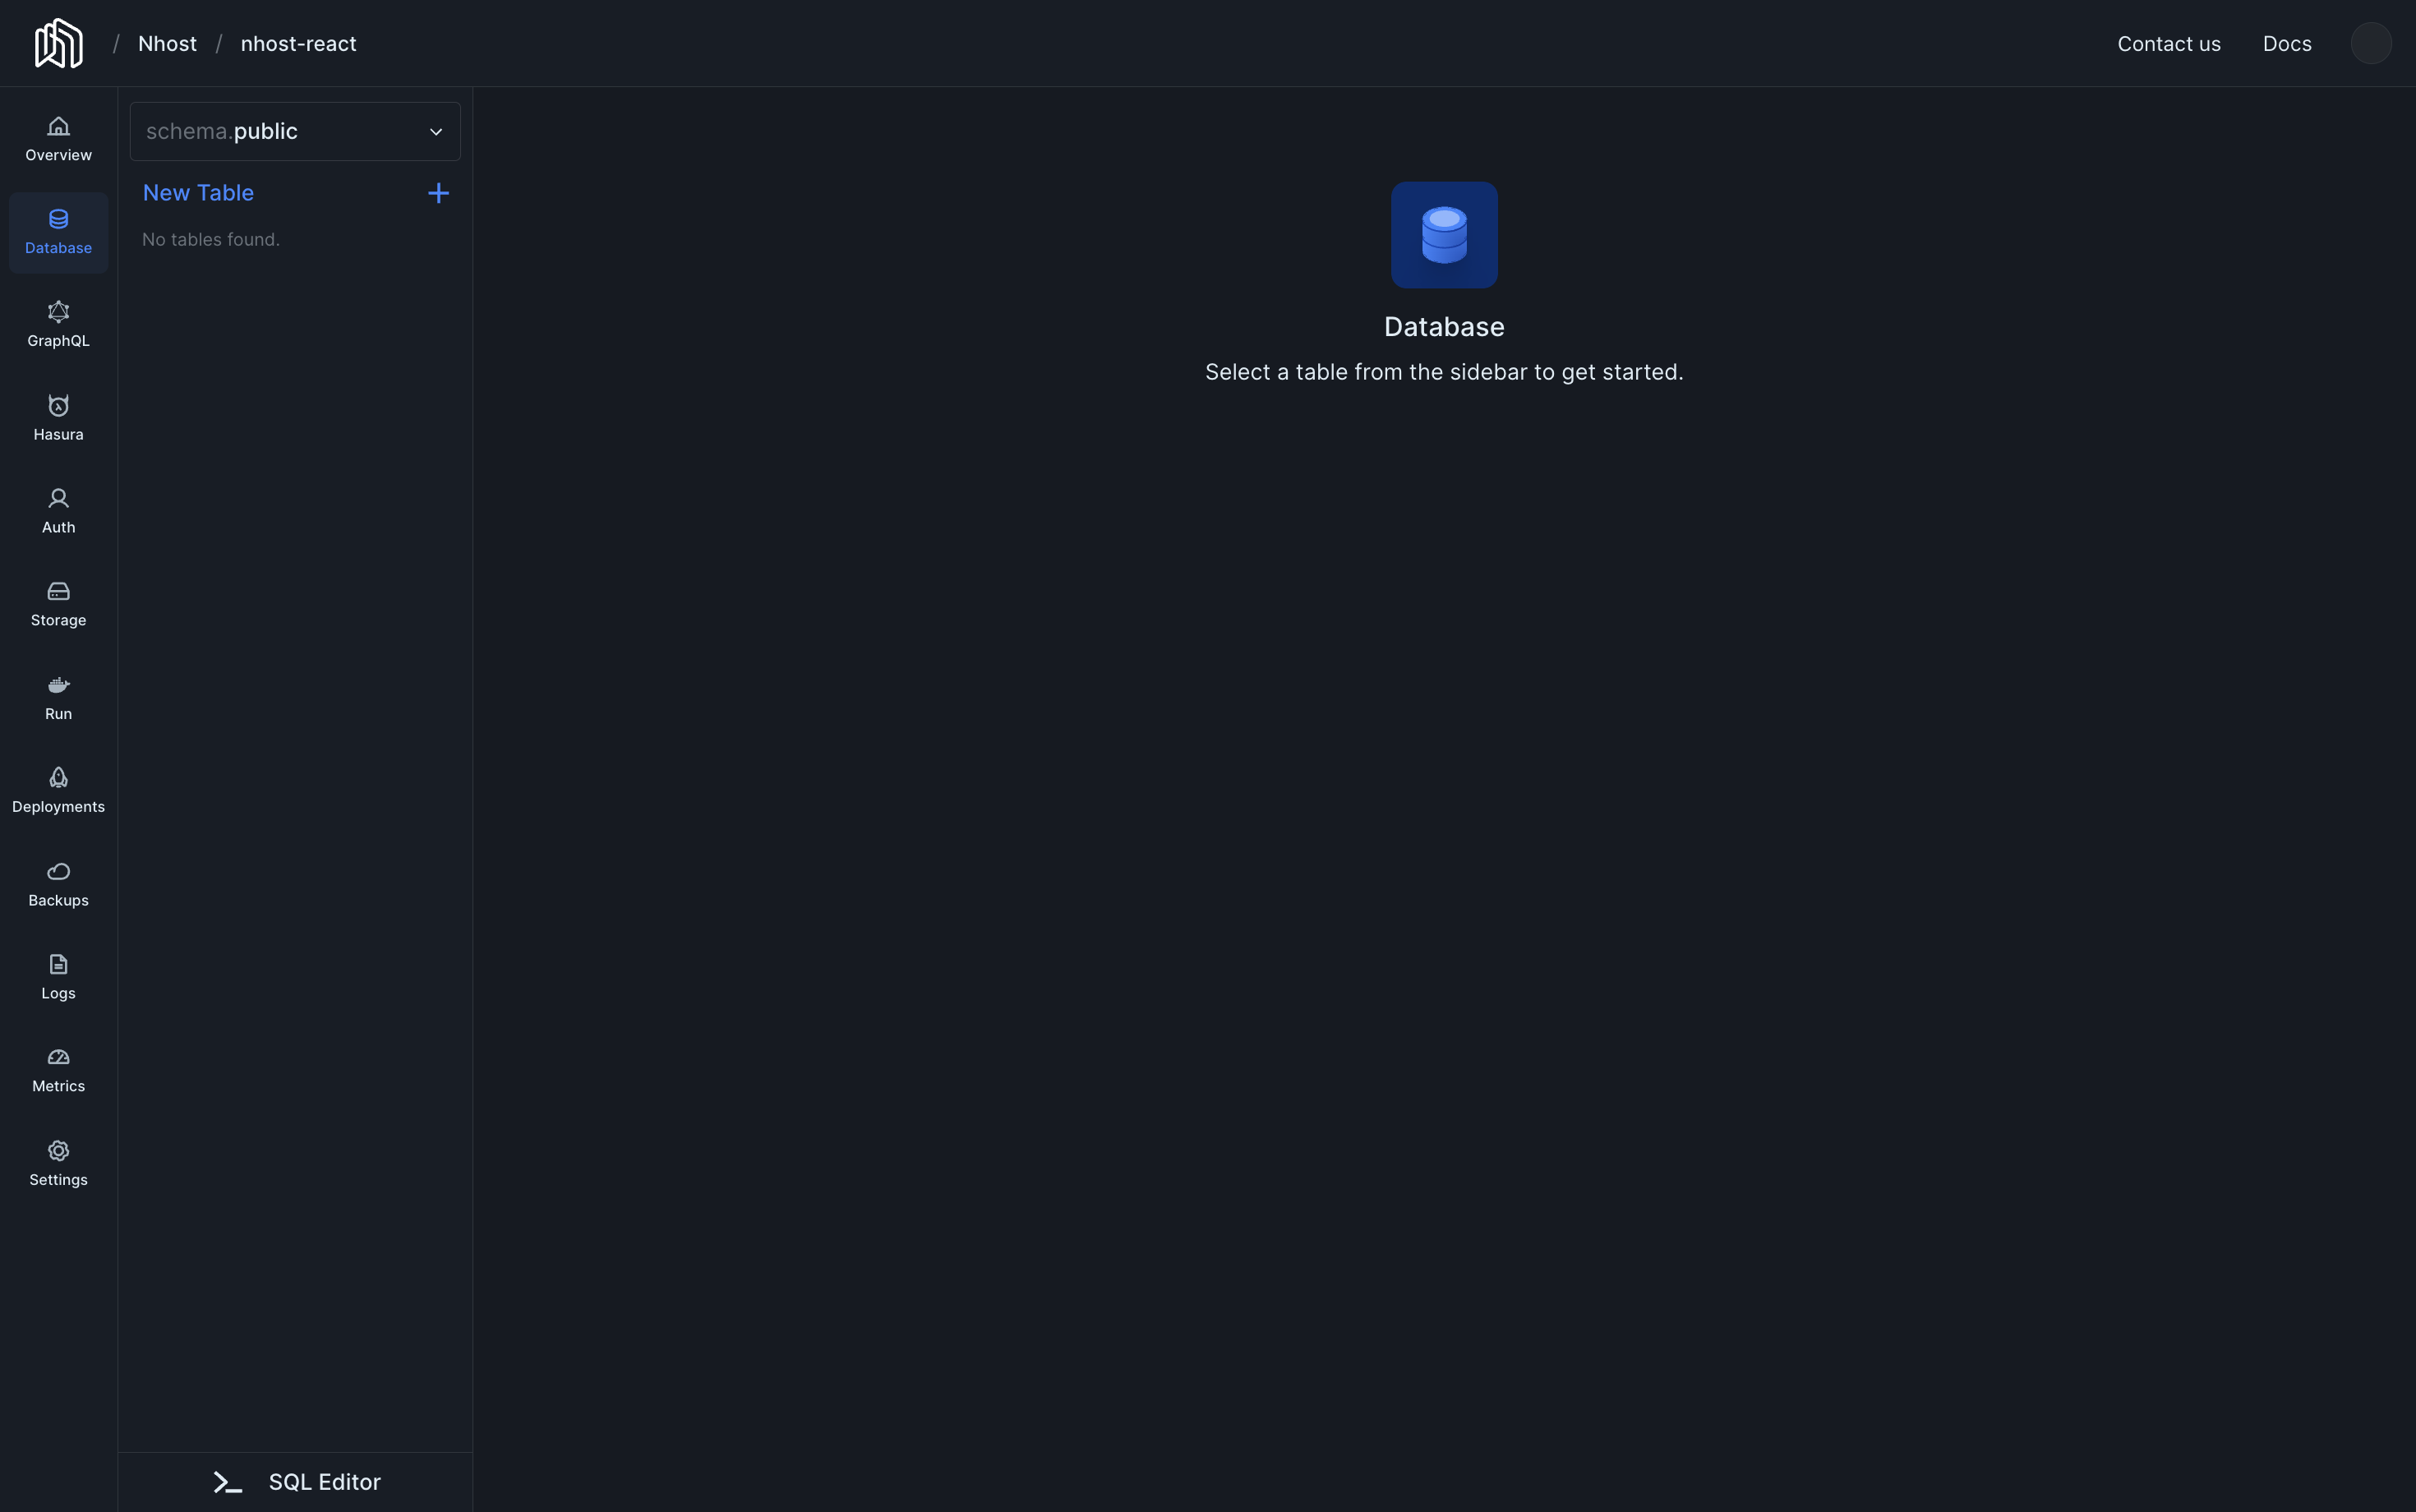
Copy and paste the following SQL into the SQL Editor and press Run.
Please make sure to enable Track this so that the new table
todos is available through the auto-generated APIsSQL
todos on the left panel, above New Table.
Set permissions for todos
It’s now time to set permission rules for the table you just created. With the tabletodos selected, click on …, followed by Edit Permissions.
You will set permissions for the user role and actions insert, select, update, and delete.
Click on the right cell for the 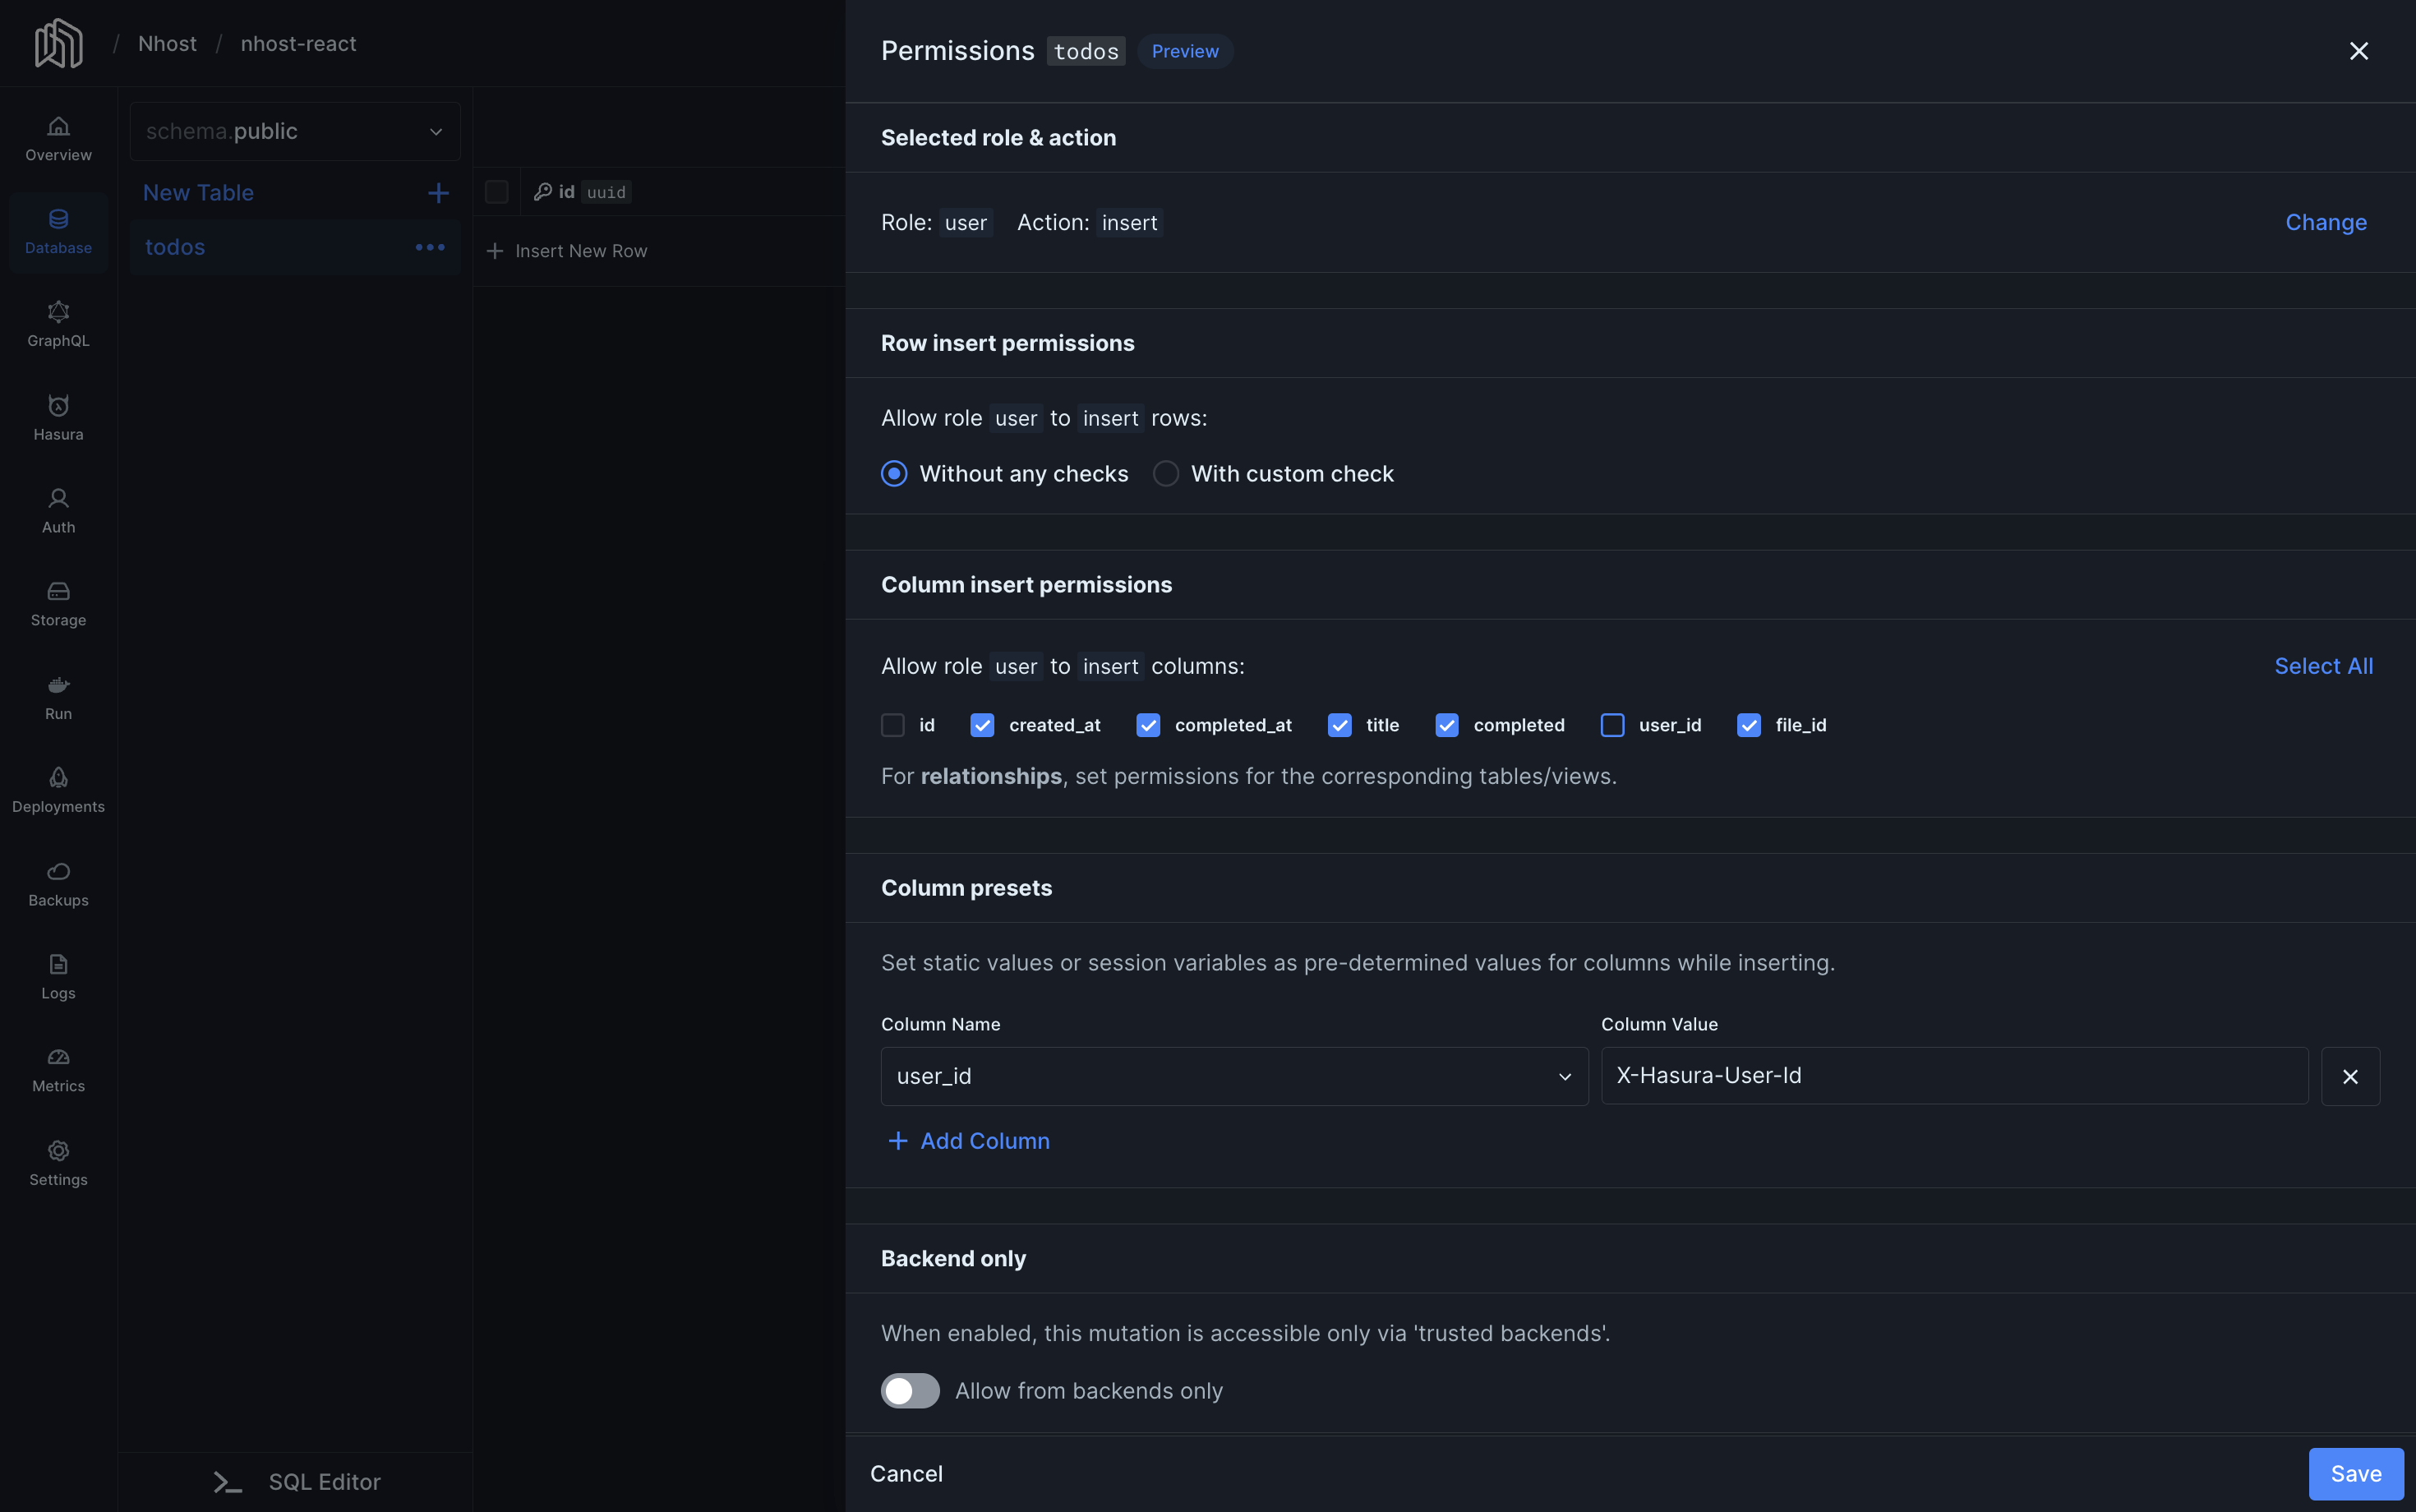
user role and action insert and set permissions as follows:Set permissions for files
Thefiles table is managed by Nhost and is defined on the storage schema. Click on the dropdown right next to schema.public and choose schema.storage.
With the files table selected, click on …, followed by Edit Permissions.
As before, we want to set permissions for the user role and actions insert, select, delete.
Click on the right cell for the 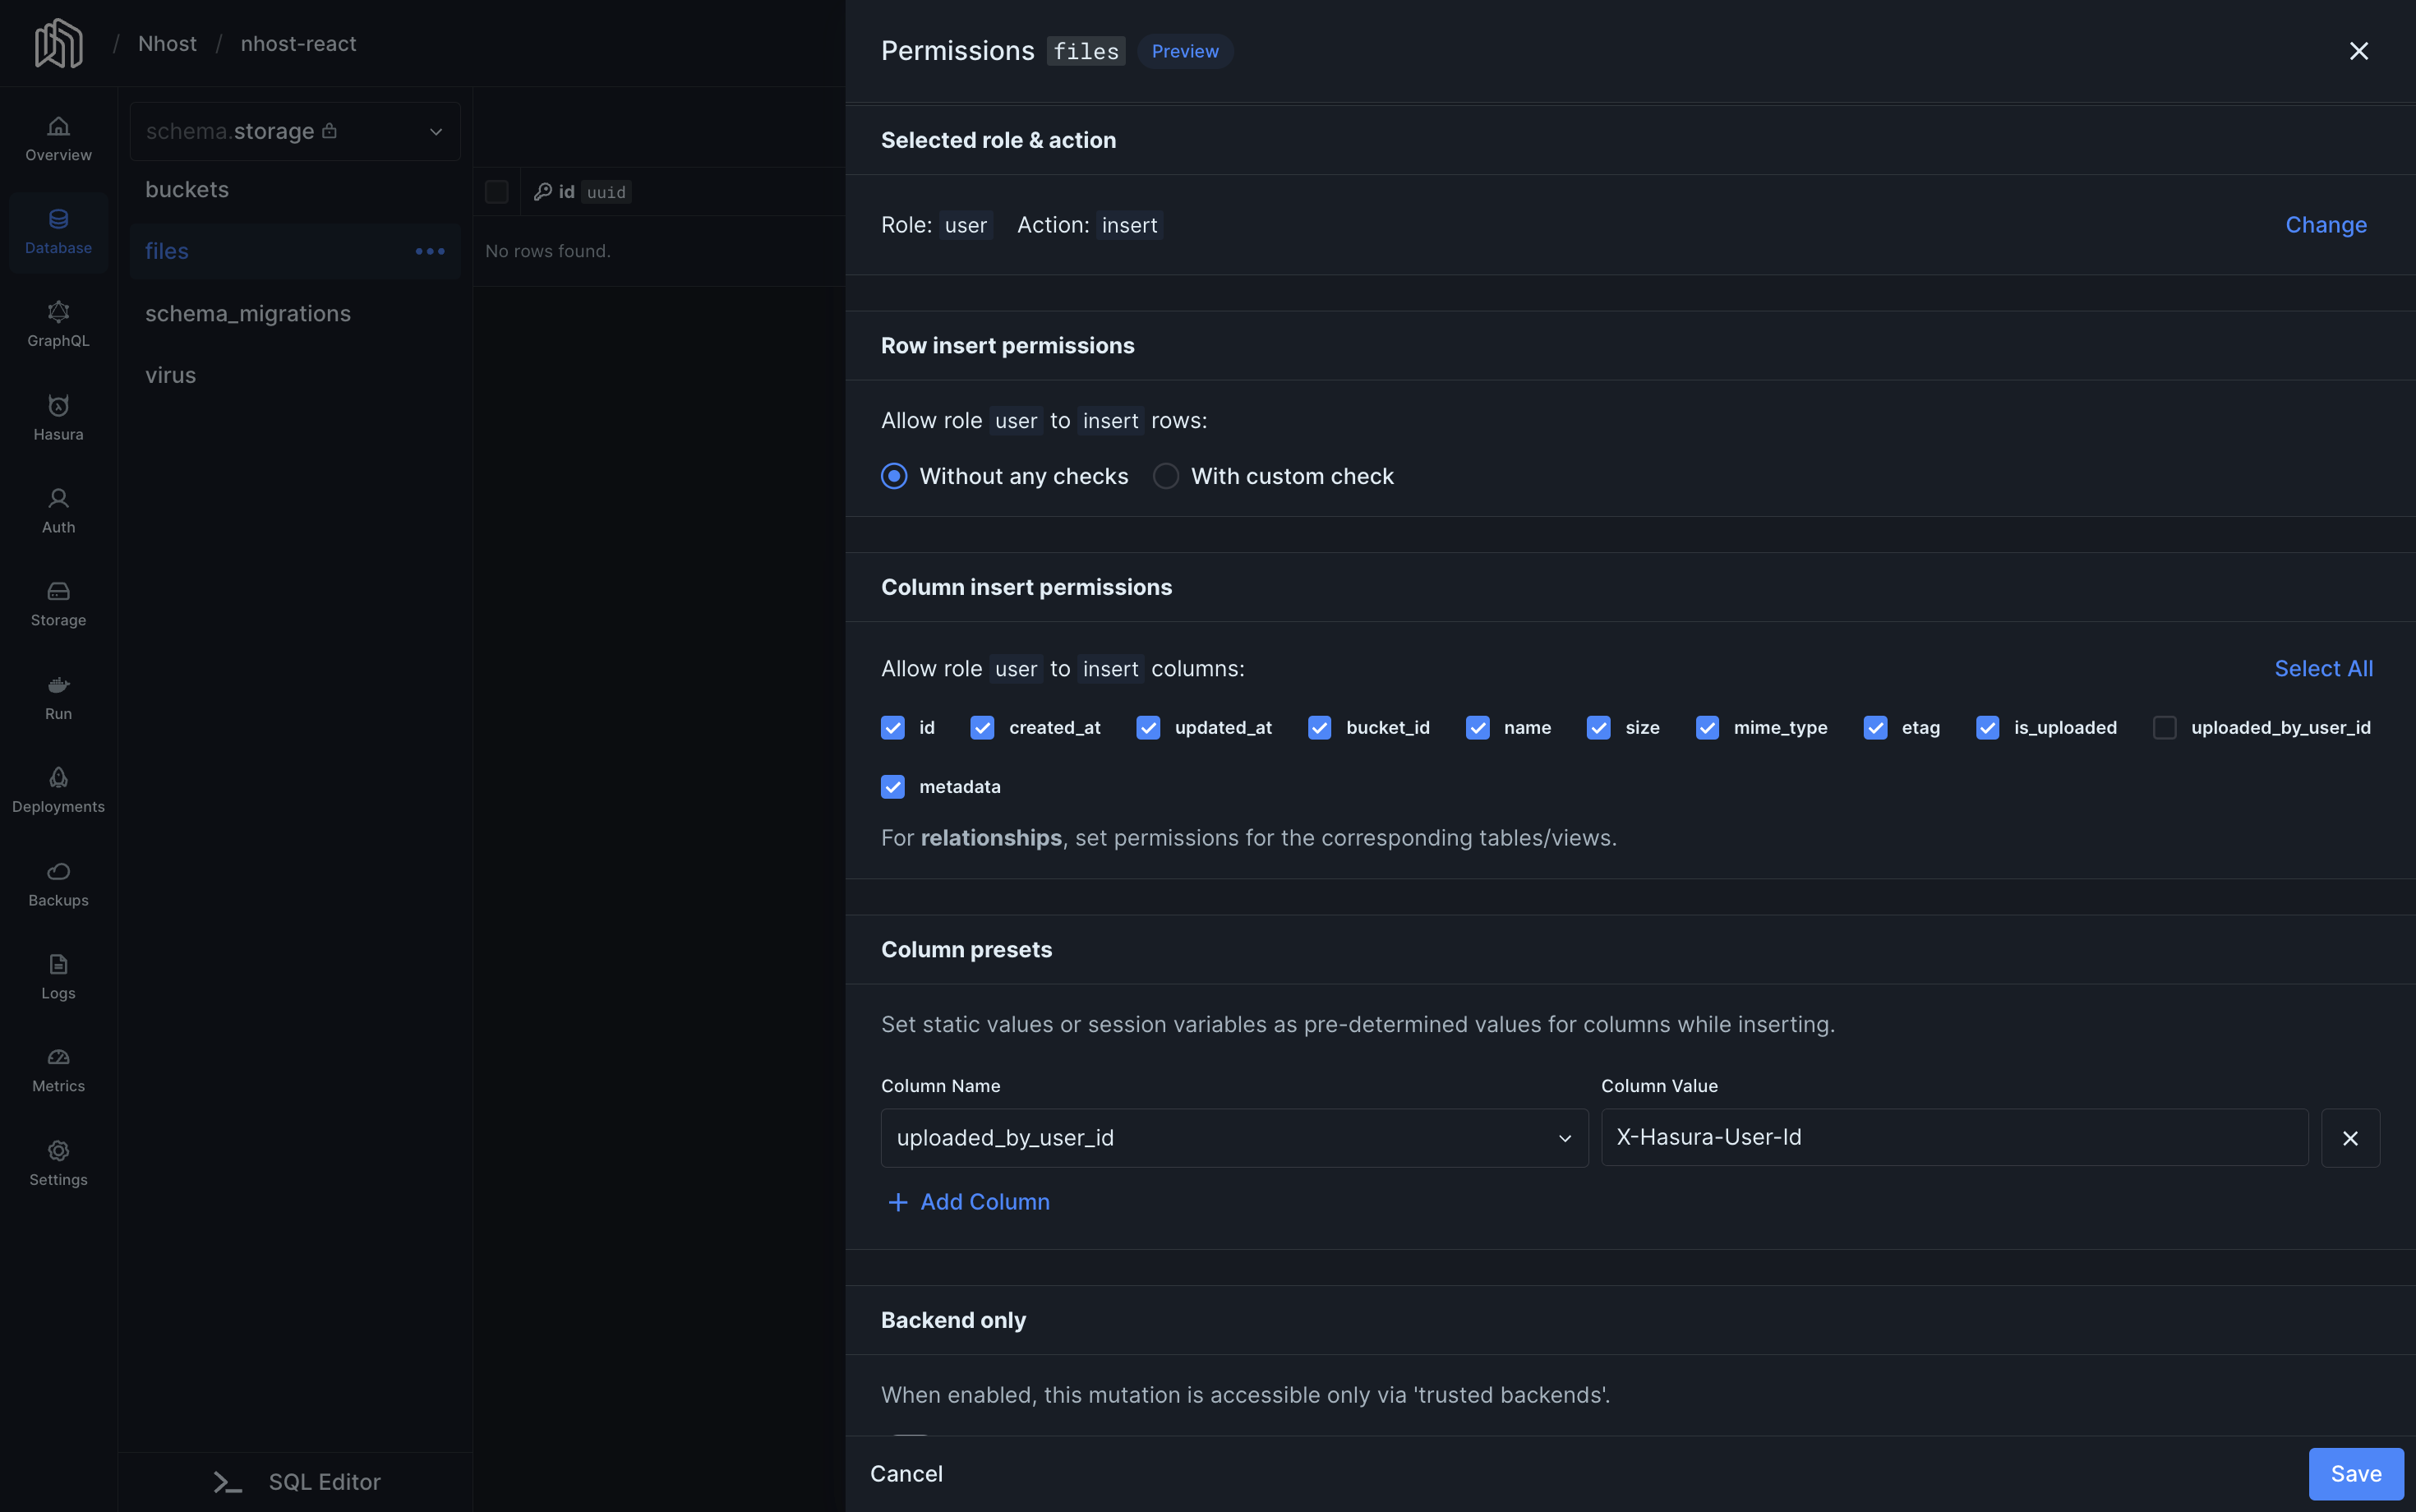
user role and action insert and set permissions as follows:Enable Sign In with Magic Link
To enable Magic Links, navigate to your project’s Settings -> Sign-In Methods, toggle Magic Link, and save.Recap
1
Nhost project created
2
Database todos created
3
Permissions set for todos and files
4
Magic Link enabled
Setup Vue Application
Now that we have Nhost configured, let’s move on to setup the Vue application and the Nhost client.Create Vue Application
Run the following command in your terminal to create a Vue application using Vite.Terminal
Install Nhost Vue package
To install Nhost’s Vue package, run the following command.Terminal
Configure the Nhost Client
Create a new file./src/lib/nhost.js with the following code to create a Nhost client. Replace <subdomain> and <region> with the values for the project you created earlier.
./src/lib/nhost.js
The project’s
subdomain and region can be found in the Nhost Dashboard under Project InfoSetup Sign In Component
It is time to setup a new React component to handle the login functionality. Your users will be able to sign in using a Magic Link and without a password. Create a new file./src/SignIn.vue for the Sign In component with the following content:
./src/SignIn.vue
Setup Todos Component
Now that users can sign in, go ahead and create the authenticated page that lists a user’s todos and has a form for managing todos with attachments../src/Todos.vue
SignIn and Todos in place, update ./src/App.vue to use the new components:
./src/App.vue
nhost as a plugin:
./src/main.js
The End
Run the Todo Manager with:Terminal