

Get up and running with the Nhost CLI
Start developing locally with Nhost. Install the CLI, initialize your project, and spin up a local PostgreSQL database, GraphQL engine, Auth, and Storage.
CLI quickstart local development Nhost CLI setup installThe Nhost CLI is the recommended way to start building your application. It sets up a full local development environment including PostgreSQL, Hasura (GraphQL), Authentication, and Storage, tracking all migrations and metadata.
Docker is required to run the local environment.
1. Install the CLI
Section titled “1. Install the CLI”Supported platforms
- macOS
- Linux
- Windows (via WSL2)1
Choose your preferred installation method:
npm install -D @nhost/clipnpm add -D @nhost/cliyarn add -D @nhost/clibun add -d @nhost/clibrew install nhost/tap/nhostcurl -sSL https://raw.githubusercontent.com/nhost/nhost/main/cli/get.sh | bashnix profile install github:nhost/nhost#cliYou can also run the CLI without installing it:
npx @nhost/cli@latest --versionpnpm dlx @nhost/cli@latest --versionyarn dlx @nhost/cli@latest --versionbunx @nhost/cli@latest --version2. Authenticate
Section titled “2. Authenticate”Login to your Nhost account. This is required if you want to pull configuration from an existing Nhost Cloud project (step 3) or deploy later. You can skip it if you only want to develop locally.
nhost login3. Initialize a Project
Section titled “3. Initialize a Project”Initialize a new Nhost project in your current directory.
nhost initThis scaffolds your project — a nhost/ directory holding your backend configuration (all version-controlled in Git) plus a functions/ directory for serverless functions:
.├─ 📁 functions # Serverless functions (Node.js / TypeScript)└─ 📁 nhost # Project & backend configuration ├─ 📁 emails # Email templates (verification, password reset, …) ├─ 📁 metadata # Hasura metadata — tables, permissions, relationships ├─ 📁 migrations # Database schema migrations └─ 📁 seeds # Seed data for local developmentIf you already have a project on Nhost Cloud and want to pull down its configuration:
nhost init --remote4. Start Local Environment
Section titled “4. Start Local Environment”Start the full Nhost stack locally. This uses Docker to spin up all the necessary services.
nhost upOnce running, the CLI prints the URLs for your local services:
| Service | URLs |
|---|---|
| Postgres: | postgres://postgres:postgres@localhost:5432/local |
| Hasura: | https://local.hasura.local.nhost.run |
| GraphQL: | https://local.graphql.local.nhost.run |
| Auth: | https://local.auth.local.nhost.run |
| Storage: | https://local.storage.local.nhost.run |
| Functions: | https://local.functions.local.nhost.run |
| Dashboard: | https://local.dashboard.local.nhost.run |
| Mailhog: | https://local.mailhog.local.nhost.run |
The local.nhost.run domain resolves to your machine, so these URLs work over HTTPS out of the box.
To stop the environment run nhost down, and to follow the logs run nhost logs.
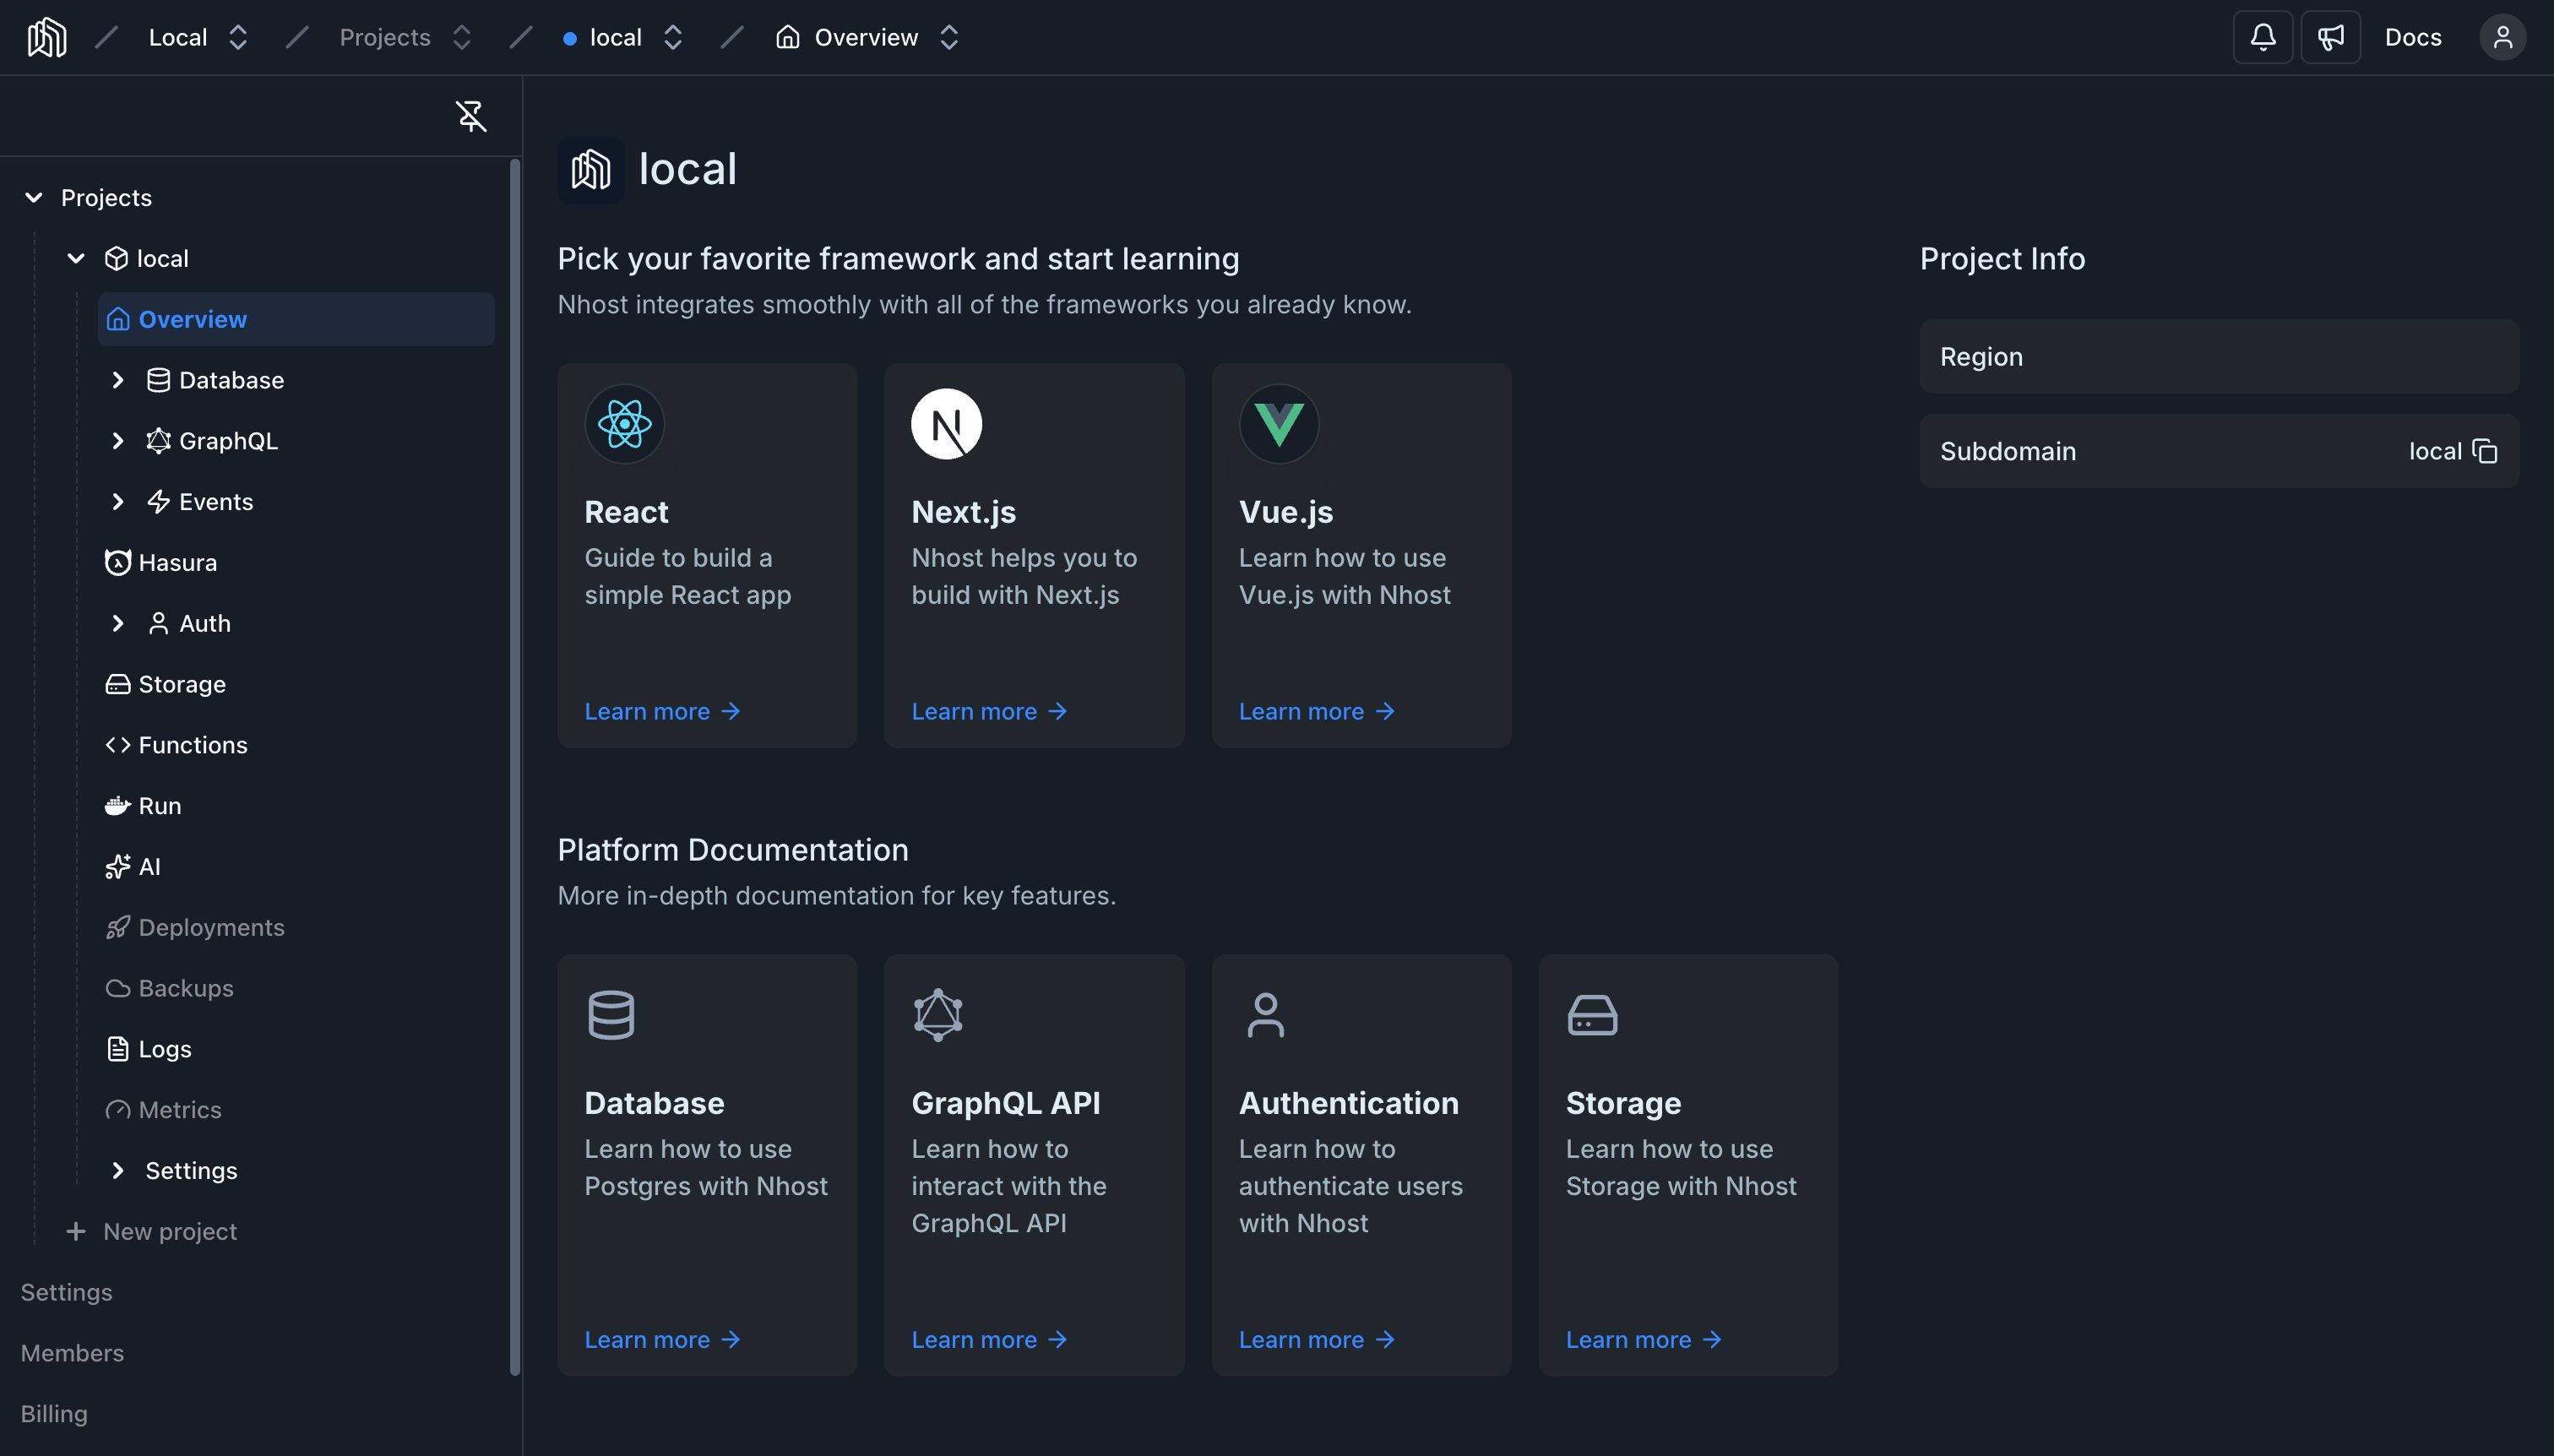
5. Open the Dashboard
Section titled “5. Open the Dashboard”Open the local dashboard by going to https://local.dashboard.local.nhost.run to manage your database, auth settings, storage, and more.
Next Steps
Section titled “Next Steps”Now that your local backend is running, you can connect your frontend application to it or dive deeper into the CLI.